Los Angeles bathroom remodeling · Construction checklist
Bathroom Walls Are Open: What to Repair Before Tile and Drywall
Demolition creates a short window to solve the problems a beautiful bathroom can hide. Here is what to inspect, decide and document before your contractor covers the framing, plumbing and wiring.
By Remodeling Contractor Pro · Research checked October 12, 2026 · A homeowner’s guide for Los Angeles, the San Fernando Valley and Orange County.
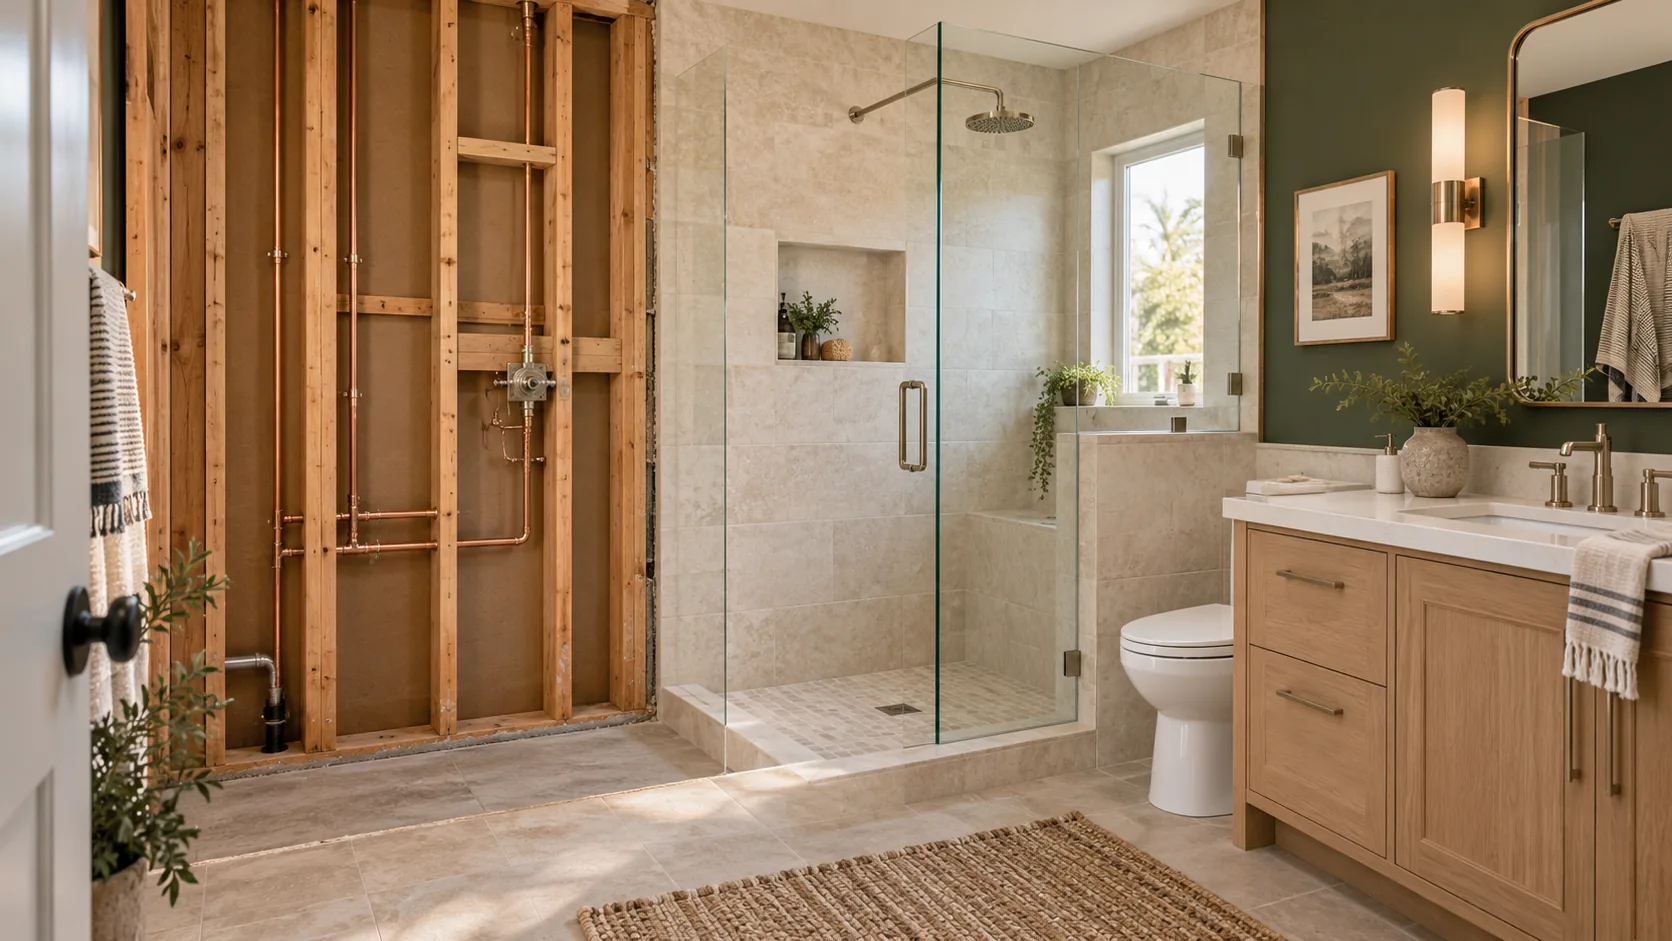
The short answer: before walls close, confirm that water damage has been addressed, framing and subfloor repairs are resolved, plumbing and electrical work match the chosen fixtures, the fan has a workable exhaust route, future supports are in place, and the required inspections have passed. Before tile starts, verify the shower’s waterproofing assembly and required testing.
Those are different checkpoints. Passing a rough plumbing inspection does not, by itself, prove that a shower membrane installed later is ready for tile.
PLAN THE WORK BEFORE IT DISAPPEARS
Get a Free Architectural & Construction Estimate
Share your bathroom photos, property location and proposed changes. We can discuss the repairs, design decisions and construction scope your remodel needs.
Explore the checklist
1. Schedule a walkthrough while everything is still visible
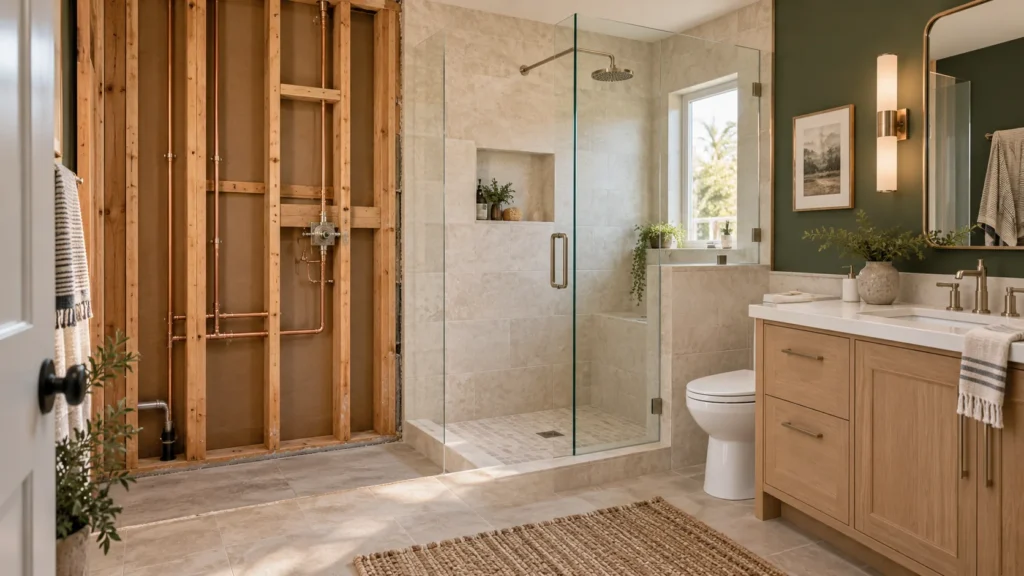
A bathroom remodel has a moment when the space looks its worst but tells you the most. Tile is gone. The shower wall is open. Pipe routes, old repairs and the condition of the floor can finally be examined. Treat that moment as a planned review, rather than an inconvenient pause between demolition and the attractive work.
Ask your contractor for a walkthrough after demolition and before the next work conceals anything important. Bring the selected vanity drawing, shower valve information, tub specifications and a marked floor plan. If these selections are still undecided, identify which dimensions must be settled before rough work continues.
Give the walkthrough three jobs: separate existing conditions from new work, identify decisions that affect hidden construction, and agree on what needs approval before the next stage. A short written record is more useful than a reassuring “we checked everything.” It also gives you a fair way to evaluate a change order without expecting the original estimate to predict every concealed defect.
Review leaks, framing, subfloor, existing services and the fit of the proposed layout.
Resolve repairs, coordinate rough plumbing and electrical work, photograph supports, and complete required inspections.
Review the named waterproofing assembly, transitions, penetrations and required testing.
Planning sequence only. Your contractor and building inspector establish the actual inspection order for the permitted work and selected assembly.
2. Resolve moisture problems before covering the evidence
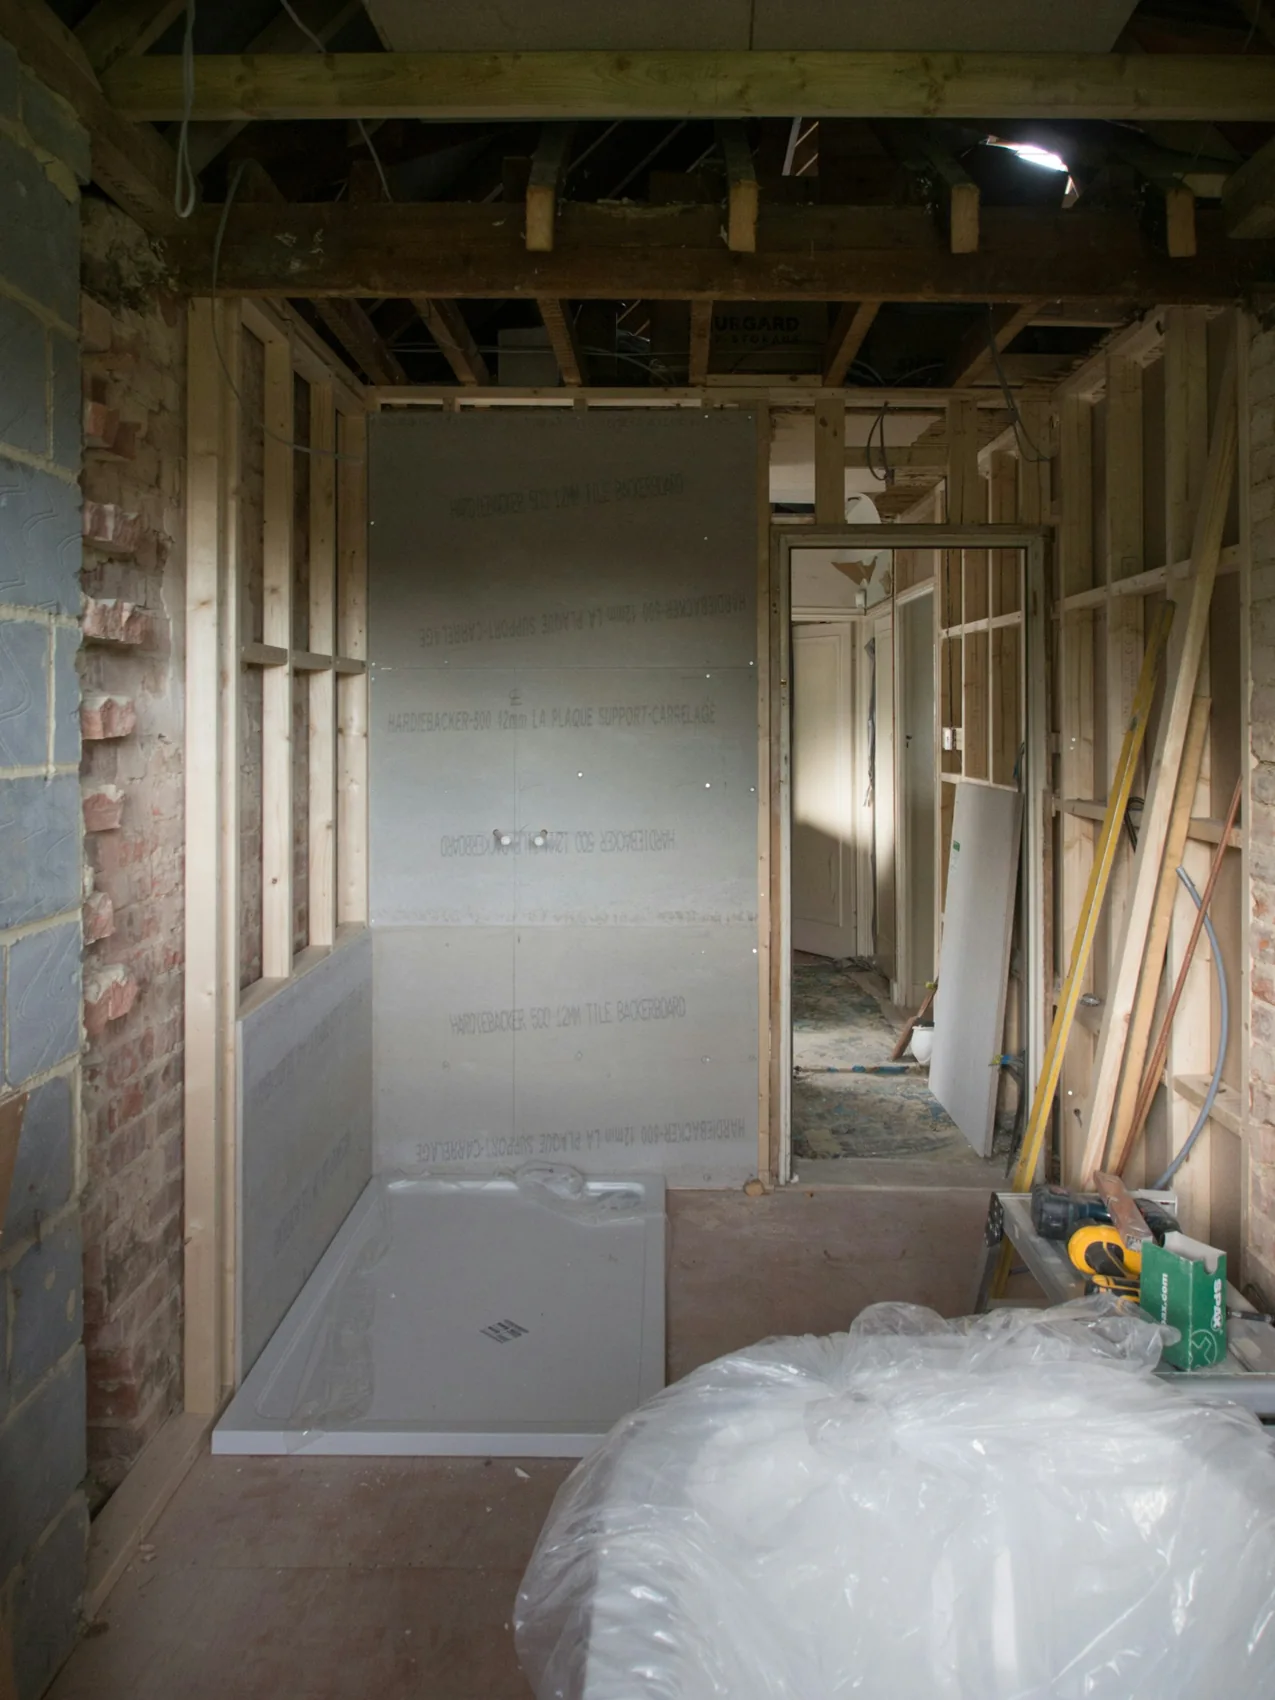
A stained wall or dark patch of wood is a reason to investigate, not enough information to diagnose a problem. Ask where the moisture came from, whether the source is still active, what material is affected, and how the repair will be checked. A shower leak, a supply connection, an exterior opening and condensation can call for different solutions.
Replacing the visible finish without addressing the source leaves the important question unanswered. Request a clear description of the cause, the repair boundary and the condition required before new material is installed. If specialized assessment or remediation is needed, settle who will perform it and how it affects the construction sequence.
Wood framing and subfloor
On a wood floor, have the contractor review the subfloor condition, support beneath the planned shower or tub, and any existing cuts or alterations in the framing. A floor that feels uneven should be assessed before choosing the method of correcting it. Tile preparation, subfloor replacement and structural repair are different scopes.
A heavier tub, a relocated drain or a curbless shower can change the discussion. Ask whether the proposal needs structural design or revised plans. Do not treat trimming a joist as an ordinary adjustment to make a drain fit. If the design depends on lowering a shower floor, resolve that approach before ordering a tray or committing to a finished floor height.
Concrete slabs
With a slab, investigate the existing drainage route and floor elevations before assuming a new shower location will be simple. Cutting, excavation, pipe replacement, testing and concrete restoration should be described in the scope. If the slab may be post-tensioned or contains embedded services, the contractor needs an appropriate investigation and cutting plan before work proceeds.
Do not apply a wood-floor detail to a slab or assume that a crack tells the whole story. The useful homeowner question is: “What condition are we correcting, and what does the approved repair require?” For a deeper look at lowered floors and wet-area transitions, see our curbless shower construction and waterproofing guide.
3. Coordinate rough plumbing with the fixtures you will actually install
“The plumbing is in the same place” can conceal several decisions. A deeper vanity may change access to shutoffs. Drawers may conflict with a trap. A wall-mounted faucet needs a coordinated rough-in and wall thickness. A replacement shower trim may require a different valve inside the wall.
Provide model numbers and installation sheets before rough plumbing is finalized. Ask the plumber to confirm the valve and trim combination, drain and overflow connections, fixture locations and service access. For example, Delta’s R10000 rough-in instructions specifically address finished-wall type and thickness. The point is not to choose the most expensive brand; it is to make the selected components work together.
| Item | What must be coordinated | What to ask for |
|---|---|---|
| Shower valve and trim | Compatible parts, mounting depth and finished wall buildup. | Actual valve and trim model numbers, with the installation sheet. |
| Vanity and faucet | Sink location, drawer clearance, drain route and shutoff access. | A cabinet drawing marked with plumbing locations. |
| Bathtub | Support, drain/overflow location, access and faucet reach. | The selected tub’s specification and installation requirements. |
| Shower drain | Waterproofing connection, floor slope, tile layout and drain serviceability. | The drain model and the waterproofing detail it belongs to. |
| Toilet | Finished wall reference, rough-in, floor height and usable clearance. | Confirmation against the actual toilet and final room layout. |
Also ask which existing pipes will remain and why. “Replace everything” and “keep everything” are both too broad without a condition assessment. A reasonable scope identifies the sections being replaced, the connection points to existing work, the testing required and any excluded work outside the bathroom.
Have the contractor document the completed tests and required inspection results. A photograph of an exposed pipe is helpful for locating it later, but it is not evidence that a pressure or drainage test passed.
4. Specify a complete shower waterproofing assembly
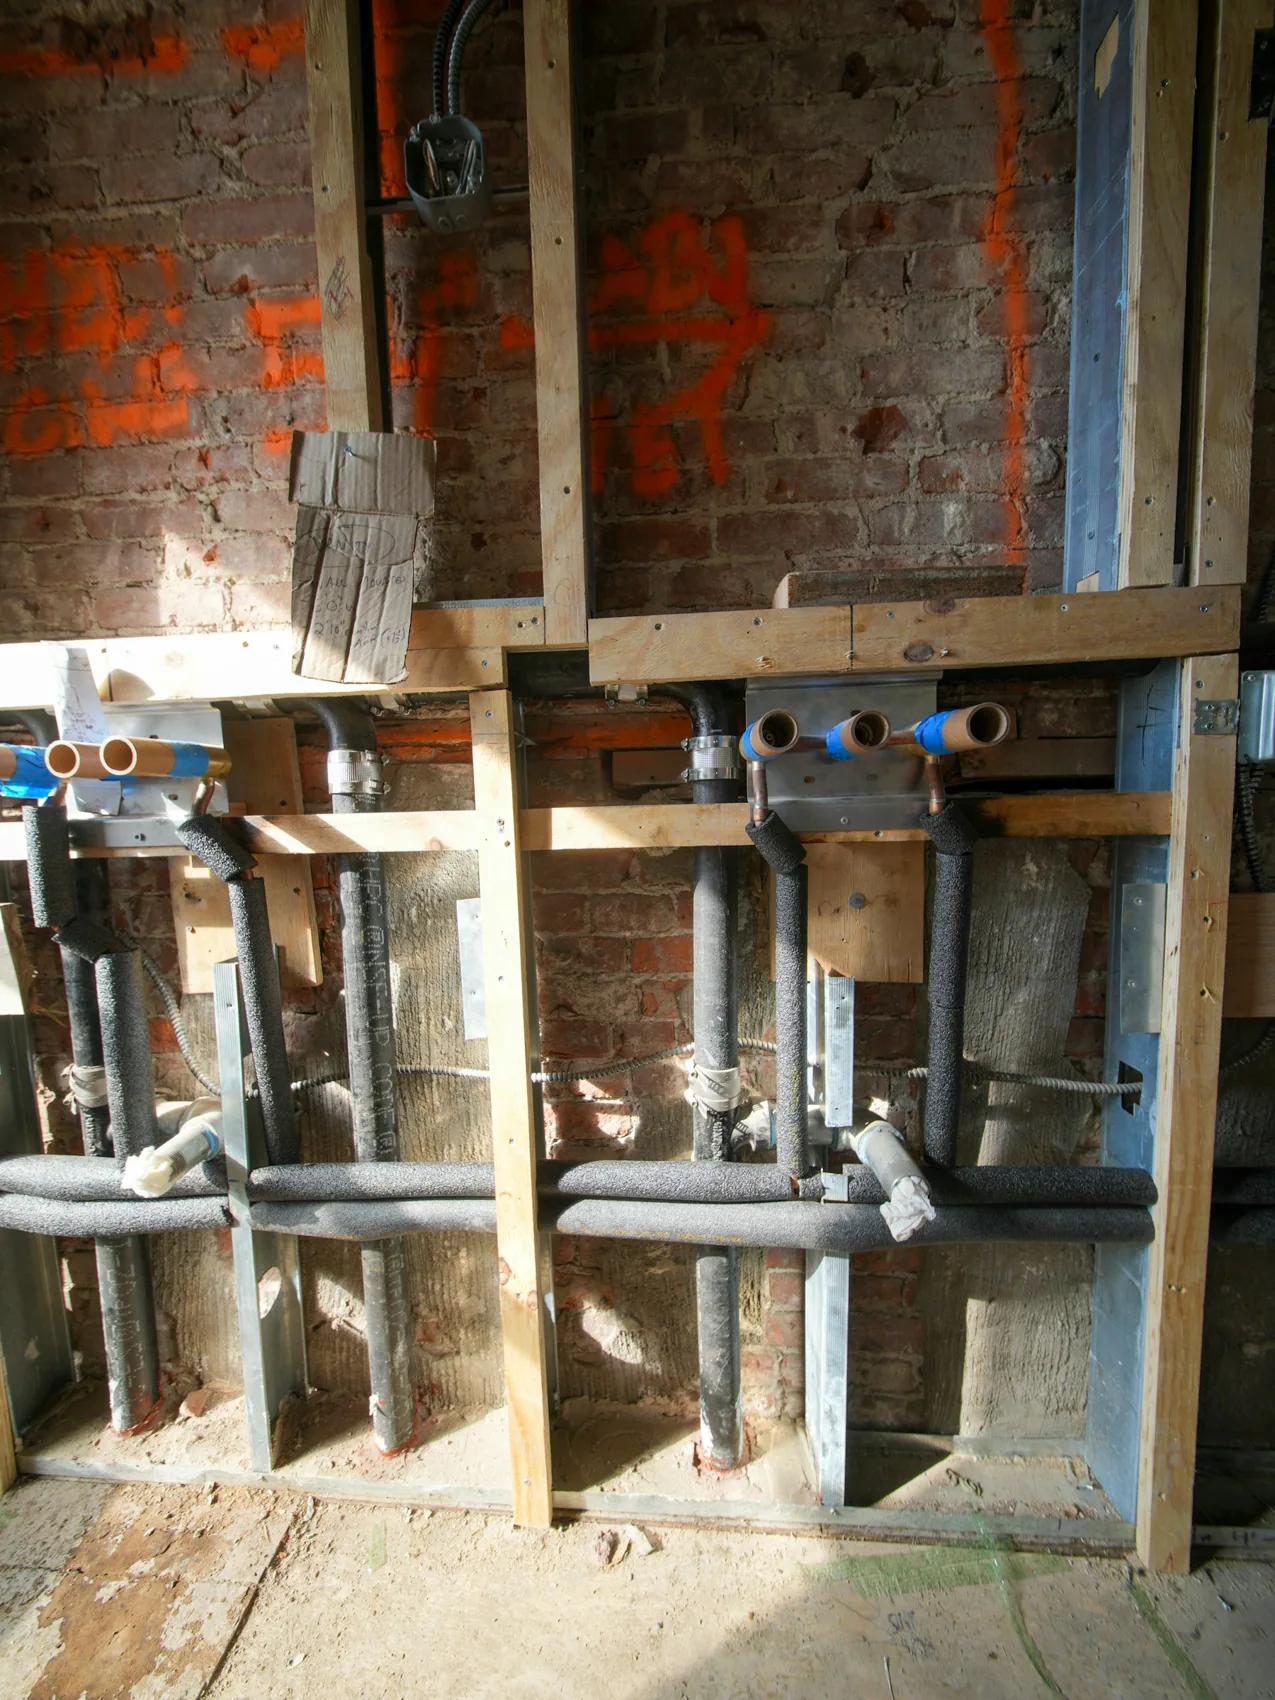
A waterproof shower is an assembly, not a tile selection. Tile, grout, the backing, membrane, drain connection, corners and penetrations have different jobs. Ask the contractor to name the system and explain how its parts join at the floor, walls, threshold or entry, niche and plumbing openings.
“Waterproof board” is not a complete specification. Even a board designed for wet areas still has edges, joints, fasteners and connections that need the treatment required by its manufacturer. Likewise, an attractive coat of liquid membrane does not show whether the substrate, coverage, thickness or curing requirements were satisfied.
Original conceptual diagram of a bonded-membrane wall approach. Some systems combine functions in one product. This is not a section detail, installation order or specification; follow the chosen system’s instructions.
Three common approaches worth discussing
| Approach | Example | What the homeowner should confirm |
|---|---|---|
| Bonded sheet membrane | Schluter KERDI | Approved substrate and mortar, seam and corner treatment, pipe openings, and the membrane-to-drain connection. |
| Liquid-applied membrane | LATICRETE HYDRO BAN | Exact product, substrate preparation, specified coats and thickness, drying conditions, and permitted flood-test timing. |
| Waterproof building-panel system | wedi shower systems | Panel and base connections, fasteners, sealants, drain assembly and the system-specific water-test instructions. |
These manufacturers publish detailed instructions because the connections matter as much as the broad surface. Consult Schluter’s waterproofing data sheet, LATICRETE’s waterproofing guidance and product sheets and the instructions for the exact panel system specified. A steam shower or specialty assembly may have additional requirements.
Do not accept a generic promise to “add more waterproofing” as a substitute for an approved assembly. Combining materials, substituting a drain, or changing a seam treatment needs a documented basis. Ask who owns compatibility decisions and what written manufacturer guidance supports the proposed combination.
Separate curing time, test duration and inspection approval
Three different clocks can affect the schedule: how long a product must cure before testing, how long the water test must last, and when the authority can inspect the work. Do not combine them into a universal “24-hour rule.” Product formulation and jobsite conditions can change the first clock; the applicable requirements and inspector control the others.
For example, Schluter’s water-test guidance calls for at least 24 hours before testing KERDI installed with thin-set mortar at normal room temperature, with longer waits in colder conditions. LATICRETE’s FAQ gives different waiting conditions for HYDRO BAN liquid and HYDRO BAN Sheet Membrane. These are examples of why the exact product matters, not interchangeable scheduling rules.
Before tile, request the product names, installation instructions, relevant progress photos, test record and required approval. Photos should include the difficult places: inside corners, niches, valve penetrations, drain connection and shower entry. They help document the work, while the installer remains responsible for the assembly.
5. Give ventilation and electrical work a place in the plan
A bathroom fan should be planned as a complete exhaust system. Ask where air will discharge outdoors, how the duct will reach that point, and whether the proposed fan suits the duct route and room requirements. The DOE/PNNL bathroom exhaust guide specifies outdoor discharge rather than an attic, crawlspace or enclosed cavity. A quiet grille is not proof that the installed system moves the intended air.
ENERGY STAR’s ventilation fan guidance can help compare efficiency and sound ratings. The installer still needs to confirm the applicable local requirements, mounting location, duct size, route and controls. Do not let a difficult outdoor termination become a surprise after the ceiling is closed.
For electrical planning, make a list of the equipment you actually want: lighting, exhaust fan, mirror lighting, receptacles, heated floor and a possible bidet seat. Have the electrician review the circuits, required protective devices, equipment ratings and permit scope. A nearby outlet is not automatically the right supply for an added appliance.
Walk through the controls as you would use them. Can you turn on a useful light without crossing the room in darkness? Will a mirrored cabinet conflict with a light fixture? Is a switch hidden behind the door? Is there a plan for a night light? These are easy questions to overlook on a drawing and frustrating ones to discover after tile.
6. Install supports and resolve the layout before finishes lock it in
Wall backing and blocking deserve their own review. Grab bars, wall-hung cabinetry, shower seats, glass hardware and accessories may need support in precise locations. The support must suit the product and construction; a generic piece of blocking somewhere in the wall may not serve the item you later select.
Ask the contractor to mark planned support locations on a simple elevation and photograph them with reference dimensions. For future grab bars, discuss likely positions and the users’ needs before the wall closes. The finished bathroom should remain usable around the toilet, shower opening, vanity and door swing.
A private residential bathroom with helpful grab bars is not automatically “ADA compliant.” Accessibility obligations depend on the property and use; individual mobility needs also vary. Describe the actual goal—easier entry, room for assistance, seated showering or future support—then have the design checked against the applicable requirements. Avoid selecting a layout solely because a product is advertised as accessible.
Small details that become large changes later
- Shower niches: confirm the proposed location, framing constraints, waterproofing details and relationship to tile joints.
- Shower glass: coordinate support and attachment before assuming every edge can accept a fastener.
- Recessed cabinets: review wall depth, utilities and framing before finalizing the size.
- Storage: check that drawers open without hitting the door, toilet or another handle.
- Sound and comfort: discuss suitable insulation, pipe noise and any rated wall or ceiling requirements before selecting materials.
- Finished heights: review the floor buildup at the doorway, shower entry and adjoining room.
For broader decisions about tubs, vanities, fixture brands and layout, our Los Angeles bathroom remodeling guide covers the complete project. This checklist focuses on decisions that are difficult to revisit after concealment.
7. Confirm the permit and inspection path for the property
Do not assume that every Los Angeles mailing address uses the same building department. City of Los Angeles properties, unincorporated county areas and incorporated cities can have different permitting authorities. San Fernando Valley projects may fall within Los Angeles or a separate city; Orange County also contains multiple jurisdictions.
For City of Los Angeles work, start with the Department of Building and Safety’s inspection guidance and relevant permit information. Ask your contractor to identify the permit numbers, authorized scope, required trade inspections and any plan changes. A cosmetic update and a project that relocates plumbing or changes structural work should not be treated as interchangeable.
The city’s Express Permits bulletin, revised June 10, 2026, lists residential bathroom remodeling without structural changes among eligible scopes. No plan check does not mean no permit. Eligibility and trade permits still depend on the proposed work and the property.
The department’s inspection guidance requires the relevant work to remain visible for inspection. Put the required inspection points into the schedule, and obtain the applicable approvals before covering that work. Do not cover a correction item merely because the next subcontractor has arrived or the tile delivery is waiting.
Keep the permit record, correction notices and approvals together. If a field condition requires a different layout or repair, ask whether the change needs revised documentation before it is built. An inspection is an essential checkpoint, but it does not replace the contractor’s product instructions, workmanship checks or the agreed project scope.
8. Spend the budget on work that is difficult to redo
Open walls create both an opportunity and a temptation. Some work deserves immediate attention; other upgrades can wait. The distinction should be based on condition, access, consequences and the project’s priorities—not pressure to approve every possible improvement.
| Priority | Typical discussion | Decision to document |
|---|---|---|
| Resolve before concealment | Active leaks, required repairs, incompatible concealed components, incomplete tests or inspection corrections. | The diagnosis, approved repair and evidence needed before work continues. |
| Consider while access is easy | Future supports, a revised fan duct, coordinated outlet locations or noise-control improvements. | Incremental price, benefit, design implications and whether later access would damage finishes. |
| Often easier to revisit | Paint, some surface accessories or decorative choices that do not change hidden connections. | Confirm that postponement does not create another rough-in, support or waterproofing change. |
Request an itemized change order for unexpected work. It should identify the observed condition, proposed correction, added and credited work, price, schedule effect and any permit or design implications. CSLB’s home improvement contract guidance calls for written, signed change orders before changed work proceeds. Ask for photographs and enough explanation to understand why the change is needed. Approving an allowance is different from approving an unlimited scope.
A comparison example
Suppose you are choosing between retaining the shower location and moving it across the room. Compare both options using the same finish assumptions. The relocation may add drain work, framing coordination, waterproofing changes and inspections; the existing location may still need repairs. Ask for both scopes before treating the difference as the price of a new tile design.
There is no dependable universal price for “fixing what is behind the walls.” The size of the affected area, access, actual condition, materials, structural requirements and inspection sequence matter. A useful estimate explains those assumptions and exclusions. For this stage, a documented scope is more valuable than an unsupported per-square-foot number.
Ask about schedule effects as well as dollars. A fixture backorder, an unresolved structural detail and a membrane’s required curing conditions create different delays. Your contractor should be able to identify the next decision or approval that controls progress, even when the final date cannot yet be promised.
MAKE THE SCOPE CLEAR
Have photos of an open bathroom?
Send the property location, current photos and your planned changes. Request a free architectural and construction estimate for your remodeling project.
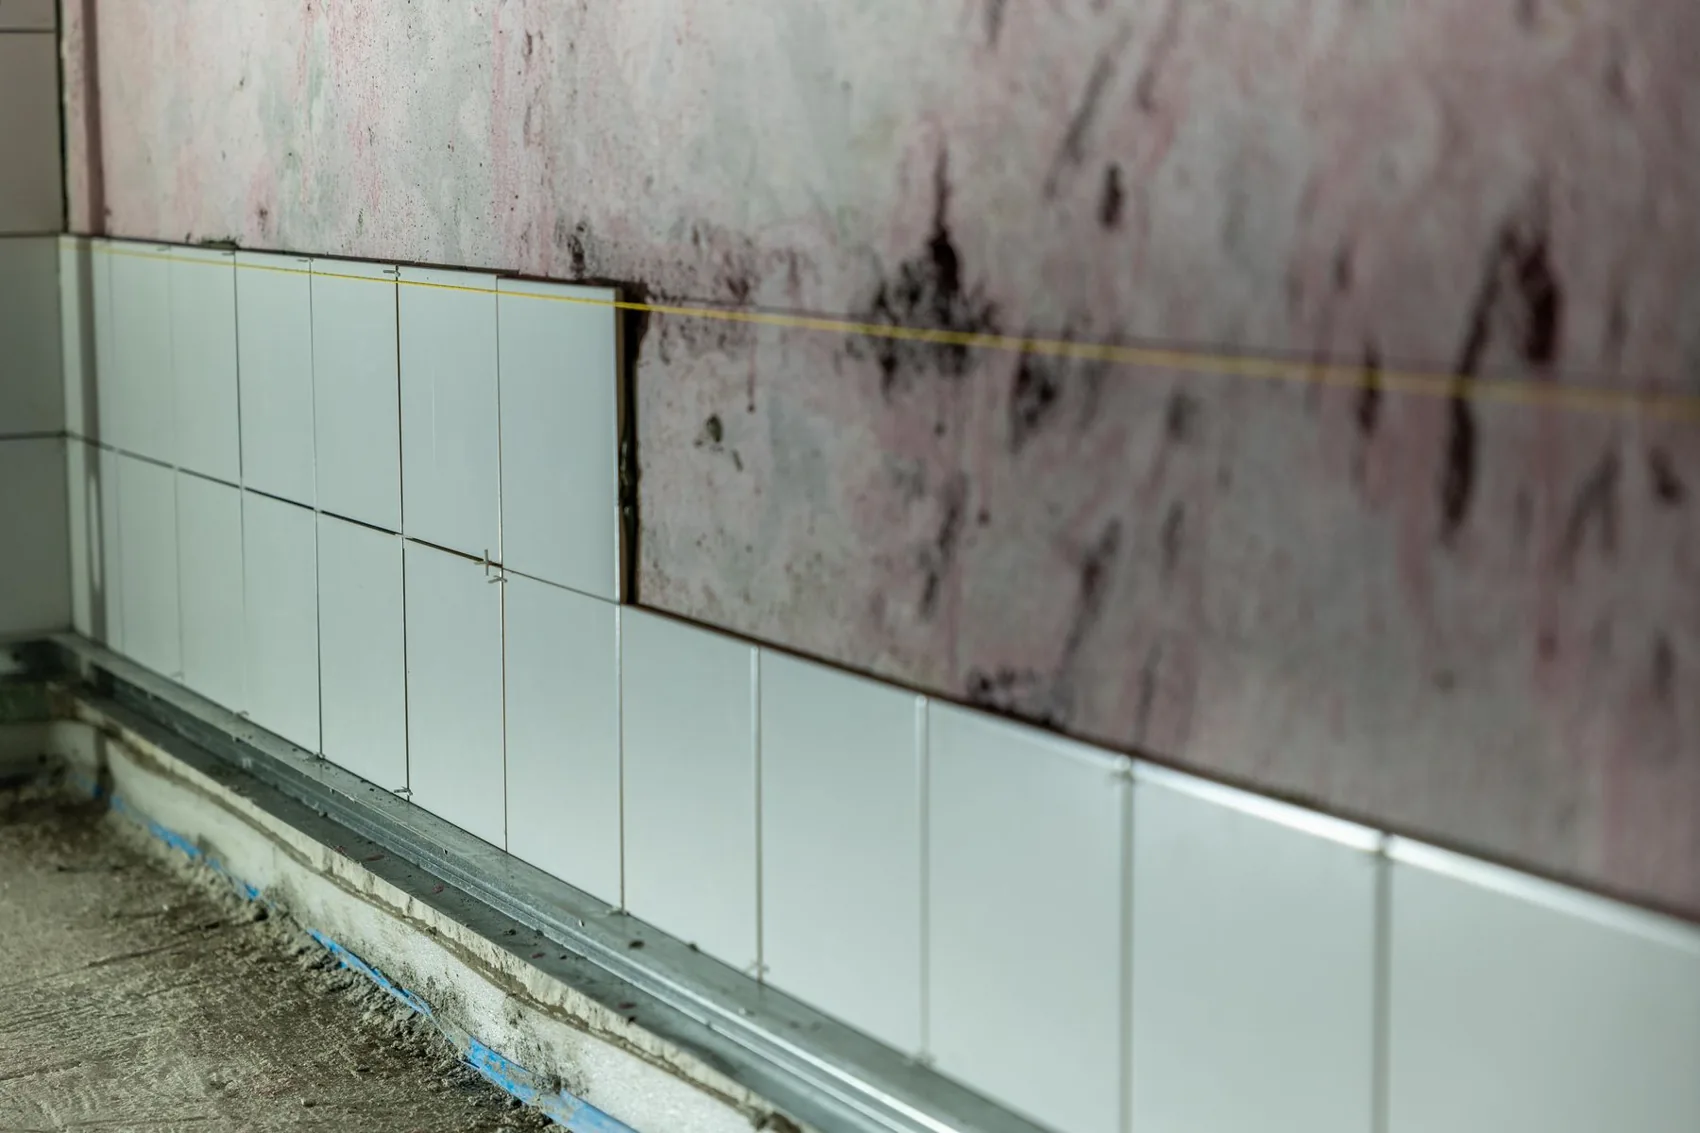
9. Use this checklist before the next layer goes on
Bring this list to your contractor walkthrough. Mark each item complete, not applicable, or awaiting action; name the person responsible for anything outstanding. The checklist supports communication and documentation. It does not authorize you to approve work on behalf of the inspector or replace the contractor’s checks.
Before wall and ceiling coverings
- Existing conditions: the cause and repair of relevant moisture or damage findings are documented.
- Structure and floor: required repairs, support and any design changes are resolved.
- Fixtures: actual model numbers and finished wall/floor assumptions match the rough-in.
- Plumbing: the replacement boundaries, service access and required test results are recorded.
- Electrical: equipment, circuits, controls and required protective measures have been reviewed by the electrician.
- Ventilation: the fan, duct route, outdoor termination and controls are coordinated.
- Supports: blocking for selected or planned accessories is located and photographed.
- Permits: required inspections at this stage have passed and correction items are resolved.
Before shower tile
- System: the exact waterproofing products and assembly instructions are identified.
- Connections: corners, penetrations, niches, entry and drain connections have been checked by the installer.
- Testing: curing requirements, required water testing and relevant inspection approvals are documented.
- Layout: tile layout, drain position, slopes and finished transitions are coordinated.
- Protection: the crew has a plan to protect completed waterproofing from later work.
Keep a compact project record
Save wide photos of each wall and floor area, then close photos of important connections and supports. Include a simple label identifying the room and direction. Where future location matters, ask for reference measurements rather than relying on a close-up with no scale.
Keep those photos with the approved selections, repair descriptions, change orders, permits, inspection records and product instructions. Ask for the final warranty and care information at closeout. This record can help the next person service a valve, install an accessory or understand what was changed, without guessing what sits behind the finish.
Common questions before bathroom walls close
Should all old plumbing be replaced during a bathroom remodel?
Not automatically. Ask the plumber to assess the material, condition, connections, access and future fixture needs. The proposal should explain what stays, what changes and how the transition to existing plumbing will be tested. Work beyond the bathroom should be identified separately.
Is cement backer board enough to waterproof a shower?
The board alone is not a complete waterproofing specification. Ask which assembly is being used and how water is managed at the walls, floor, drain and openings. The correct answer depends on the selected products and their installation instructions.
Can waterproofing be approved from photographs?
Photos can document visible stages, but they do not prove material thickness, concealed connections, curing or test results. Keep them alongside the installer’s checks and required inspections. A remote image review is not a substitute for the project’s inspection process.
Can we skip permits if we keep the same bathroom layout?
Do not assume so. The need for permits depends on the work and jurisdiction, not just whether the toilet stays in place. Have the contractor confirm the applicable building and trade requirements with the authority for the property.
Should future grab-bar supports be installed now?
They can be worth considering while the framing is accessible. Coordinate likely placement and the required support with the intended products and user needs. Record the location before covering it; later installation still needs to follow the product’s attachment requirements.
What if tile work is scheduled before an inspection or test is finished?
Tell the contractor the outstanding requirement needs to be resolved before the affected work is concealed. Ask for an updated sequence and a clear completion record. Avoid letting a calendar commitment become the reason necessary evidence is missing.
Plan a bathroom that works beyond the finished surface
If you are remodeling in Los Angeles, the San Fernando Valley or Orange County, contact Remodeling Contractor Pro to discuss your property and project. We can review the architectural and construction scope, including layout changes, hidden repairs and the work needed before finishes go on.
Send your address or city, a few current photos, the changes you want and any existing plans. We will confirm the next step and service availability for your location.
The linked agency and manufacturer guidance was checked for this article. Requirements vary with the property, permit and exact products. Use the approved plans, current installation instructions and authority’s direction for your project. Stock photos are used under the Unsplash License and Pexels License; captions distinguish them from company work.