Los Angeles shower remodeling · A homeowner’s construction guide
Shower Waterproofing in Los Angeles: Brands, Layouts and Details
See how shower layouts, drain locations and waterproofing systems fit together. Compare six manufacturers, review useful product specifications, and learn which details to settle before your Los Angeles shower is tiled.
By Remodeling Contractor Pro · Updated October 14, 2026 · For homeowners in Los Angeles, the San Fernando Valley and Orange County.
The short answer: reliable shower waterproofing is a coordinated assembly: a supported and properly sloped base, compatible waterproofing, a drain connection, sealed transitions and a documented testing process. Tile, grout and a bead of silicone do not replace that assembly.
Hot mop, sheet membranes, liquid membranes and waterproof board systems can serve different projects. Choose the complete system and construction details first; choose the tile around a workable design.
BUILD CONFIDENCE BEFORE TILE
Get a Free Architectural & Construction Estimate
Planning a shower replacement or investigating a leak? Send your property location, photos and project goals so we can discuss the work your bathroom needs.
Explore the waterproofing guide
- What actually keeps a tiled shower watertight?
- Compare complete waterproofing systems, not isolated products
- Hot-mop shower waterproofing: how the traditional system works
- Waterproofing brands: what you are actually specifying
- Turn a product name into a useful shower specification
- Small details that deserve a large share of the attention
- Four shower layouts and what changes behind the tile
- Point drain or linear drain: how the floor layout changes
- Wood floors, concrete slabs and curbless entries need different preparation
- Curing time, flood-test duration and inspection approval are three different things
- What Los Angeles homeowners should confirm about permits
- Can a leaking shower be repaired without rebuilding it?
- What affects shower waterproofing costs in Los Angeles?
- What to check before tile and what to keep afterward
- Frequently asked questions about shower waterproofing
1. What actually keeps a tiled shower watertight?
Think of shower waterproofing as a continuous route that carries water to the drain while protecting the building around it. The visible finish handles wear and appearance. The concealed assembly manages moisture that gets beyond the finish and water at vulnerable connections.
A tile surface can look excellent while hiding an incomplete corner, an unsealed pipe opening or a poorly connected drain. Conversely, seeing an orange sheet, a green coating or a familiar brand name does not prove an installation is complete. The important question is whether every part belongs to a compatible assembly and was installed to its requirements.
Three jobs need to work together:
- Support: framing, subfloor and backing must be suitable for the selected assembly and finishes.
- Drainage: the shower floor and other water-exposed horizontal surfaces need the slope and drainage details the design requires.
- Water control: waterproofing must connect continuously through seams, corners, changes of plane, the drain and the shower boundary.
This distinction helps explain why “waterproof grout” is not a complete remodeling specification. Even when a grout has low water absorption, it cannot establish the missing connection between a shower pan and its drain. Likewise, a sealer intended to help resist stains on a finish does not rebuild concealed waterproofing.
Ask the contractor to name the pan, wall assembly, drain and method for joining them. A clear answer should describe how the system works, not just which coating will be painted onto the walls. For a broader overview of the project, see our Los Angeles bathroom remodeling guide.
2. Compare complete waterproofing systems, not isolated products
“Hot mop versus membrane” is often presented as a contest with one universal winner. A more useful comparison starts with the drain, floor buildup, wall construction, shower layout and installer’s experience. Different approaches locate the waterproof layer in different parts of the assembly.
Original concept diagram, not a construction section. Traditional hot-mop and liner assemblies require their specified details; bonded assemblies use different connections. Follow the selected system and approved project documents.
| Approach | How water control is organized | What the proposal should identify |
|---|---|---|
| Traditional hot-mopped receptor | A waterproof receptor below the upper mortar bed, coordinated with a compatible drain and wall assembly. | Pan preparation and slope, hot-mop assembly, drain connection, weep protection and wall-to-pan transition. |
| Bonded sheet membrane | A sheet membrane close to the tile, joined at seams and transitions and connected to an approved drain detail. | Membrane, mortar, overlaps or bands, corners, seals and drain or approved adapter. |
| Liquid-applied membrane | A coating forms the waterproof layer after the required application and curing process. | Exact product, substrate preparation, coat coverage and thickness, reinforcement details and cure conditions. |
| Waterproof board system | Waterproof panels form part of a coordinated assembly; joints, fasteners and connections still need treatment. | Panel and pan products, joint treatment, fastener sealing, penetrations and drain compatibility. |
3. Hot-mop shower waterproofing: how the traditional system works
A hot-mopped shower pan is a waterproof basin built on site from layers of asphalt and reinforcing felt. It sits below the shower’s upper mortar bed. The tile is installed over that mortar bed, not bonded directly to the black asphalt surface. This is a different assembly from a bonded membrane installed immediately below the tile-setting material.
The method can suit a custom shower when the floor, drain, wall construction and installer are coordinated around it. It should have the same level of planning and inspection as a proprietary membrane system. “We always hot mop” is a starting point, not a complete specification.
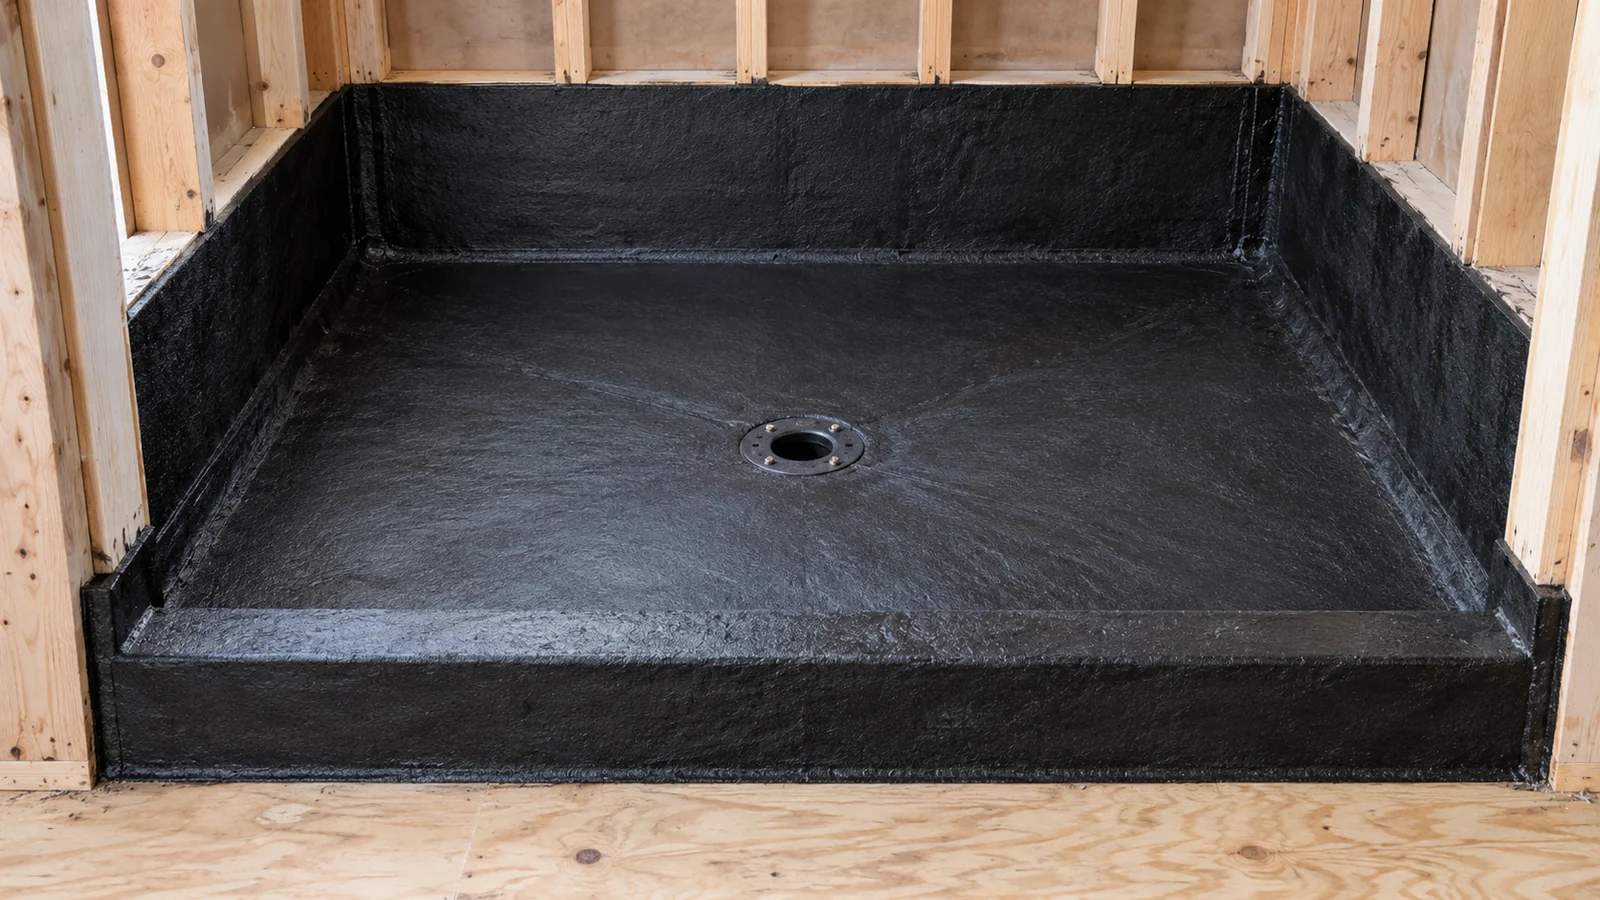
What is underneath the tile?
Read the assembly from the bottom upward: a stable supporting floor; a prepared base sloping toward the drain; the built-up asphalt-and-felt receptor; an upper mortar bed; then setting material and tile. The receptor continues up the perimeter and through the specified curb and corner details. Its drainage path remains important after the shower looks finished.
The waterproofing is a built-up assembly, not a coat of black paint. Felt plies and asphalt form the receptor together, with reinforcement at critical transitions. The proposal should name the actual felt, asphalt and reinforcement, describe the layer arrangement, and identify the approved installation detail. The finished appearance alone cannot establish whether those concealed components were installed correctly.
The slope belongs beneath the waterproofing as well as at the finished surface. Water can move through tile joints and the mortar bed. A flat receptor below a sloping tile floor leaves that concealed water without the intended downhill route. Oatey’s installation guidance specifically identifies pre-slope and protected weep holes as critical details for traditional hot-mop and liner assemblies.
The drain has two jobs
The visible strainer receives water from the tiled surface. Below it, a compatible clamping connection seals the receptor to the drain, and small weep passages let water reaching the receptor enter the waste line. Mortar, excess sealant or waterproofing material must not close those passages. The tile installer needs to preserve the drain manufacturer’s specified weep protection when placing the upper bed.
Oatey’s 151 Series includes two-part drains intended for built-up hot-mop showers. This is an example of a product family to investigate, not approval to use any drain that looks similar. Confirm the exact model, pipe connection, receptor connection and finished-height adjustment before rough plumbing.
A linear drain does not automatically rule hot mop out. QuickDrain ProLine lists hot-mop configurations. Specify the matching components and installation detail; a linear channel intended for a bonded membrane is not automatically interchangeable with a hot-mop drain assembly.
Curbs, corners and walls deserve their own detail
A black floor surface alone does not show a complete shower pan. Ask to see how the receptor rises at the walls, wraps the curb, handles the doorway corners and meets the wall’s water-control layer. A seat or bench creates additional horizontal surfaces and transitions that need a planned solution.
The wall layer must direct water into the receptor rather than behind it. The traditional receptor assembly illustrated in IAPMO’s published technical record shows a wall membrane overlapping the pan membrane, together with sloped fill and protected drain weeps. Use that relationship to understand the design; use the current approved project detail for dimensions, materials and fastening locations.
Discuss glass fasteners before the enclosure is ordered. Puncturing a waterproofed curb or another critical wet-area surface can undo the earlier work. Likewise, adding a second membrane over the upper mortar bed is not an automatic upgrade. A mixed assembly needs documented compatibility, drainage and connection details.
Wood floors, slabs and curbless entries
Over a wood floor, confirm the condition and support of the subfloor, the added mortar-bed load and the room available for the complete assembly. Over a concrete slab, settle the drain position and any recess before construction starts. A concrete floor does not remove the need to design a watertight receptor.
For a curbless shower, draw the finished bathroom and shower elevations together. The designer must accommodate the supporting slope, receptor, mortar, tile and drain while controlling water at the opening. Do not reduce the assembly to fit or cut framing casually. Compare a properly designed hot-mop option with a compatible low-profile bonded system; the most workable choice depends on the existing structure and entry design.
Testing, trade handoffs and the real project cost
Agree on the inspection sequence before installation: prepared base and plumbing; completed receptor; required water test and inspection; protection of the approved pan; then mortar, tile and enclosure. The test setup must evaluate the pan-to-drain connection, not merely hold water above a plugged strainer. Confirm when testing may begin, its required depth and duration, and who records the result with the local inspector.
Hot mop can be useful for custom mortar-bed showers and teams experienced in that method. Its tradeoffs include floor buildup, dependence on concealed drainage, specialist scheduling, and the heat and odor associated with application. Ask how the installer will manage ventilation, access and protection of the occupied home.
Compare the complete waterproofing scope: demolition, repairs, preparation, drain, hot mop, walls, testing, protection and tile-ready mortar work. A low pan-only price may exclude most of those items. For a shower in Los Angeles, the San Fernando Valley or Orange County, contact Remodeling Contractor Pro for a Free Architectural & Construction Estimate and a discussion of which assembly fits your home.
4. Waterproofing brands: what you are actually specifying
A brand name belongs at the beginning of the conversation. The useful specification identifies the product, its role in the assembly and the details that make it watertight. KERDI sheet, KERDI-BOARD, HYDRO BAN liquid and a wedi shower base do different jobs; they are not interchangeable items in a shopping list.
Sheet and board systems: compare factory-made membranes or panels, their seams and the matching pan/drain connection.
Liquid-applied products: compare the exact coating, application thickness, coverage, drying conditions and supported drain detail.
How to use these specifications: the figures below are selected checkpoints from the linked U.S. manufacturer documents, reviewed October 14, 2026. They help you compare proposals; the complete current instructions and approved project detail still govern the installation. A minimum wait before filling a pan is different from the required duration of the water test.
Schluter: KERDI sheet membrane and KERDI-BOARD panels
These products solve different parts of the shower. KERDI is a flexible membrane bonded over approved backing, including suitable drywall in the manufacturer’s shower assembly. KERDI-BOARD is a rigid foam tile substrate that can attach to wood or metal framing. The board does not replace the shower floor: the complete design still needs a sloped base, a compatible drain, and waterproof connections at corners, fasteners, niches, and pipes.
- Membrane thickness: KERDI is 8 mil thick. Factory thickness helps make the waterproof layer consistent, but installation still determines whether seams seal.
- Seams: KERDI connections require at least a 2-inch overlap, either sheet to sheet or through the specified banding detail.
- Framed walls: KERDI-BOARD must be at least 1/2 inch thick on studs spaced 16 inches on center. Other framing arrangements have different requirements.
- Before flood testing: Schluter recommends waiting at least 24 hours after setting KERDI under normal room-temperature curing conditions; colder conditions need longer. That waiting period is separate from how long the water test runs.
Specify the KERDI-DRAIN or KERDI-LINE connection that suits the base and plumbing. For steam, ordinary KERDI is intended for intermittent use; continuous-use steam rooms require KERDI-DS and the corresponding assembly. Ask the contractor to name the backing, mortar, seam treatment, and drain together. “We use Schluter” alone leaves those choices unanswered.
Manufacturer references: KERDI, KERDI-BOARD, water-test guidance.
wedi: Fundo bases, Building Panels, and the low-profile Curbless system
wedi combines waterproof foam Building Panels with prefabricated, sloped Fundo shower bases. The foam core is waterproof, while the joints, penetrations, and base-to-wall connections still require the system’s specified sealing details. Buying wall panels does not, by itself, buy a complete shower receptor.
For a new curbless proposal, look for the current U.S. Fundo Curbless model and its instructions. Older documentation also uses the name Fundo Ligno. Confirm the actual model number instead of assuming an older Ligno drawing applies unchanged to a newly supplied base.
- Low-profile edge: the Fundo Curbless data sheet specifies a 3/4-inch perimeter thickness. This can help with a recessed floor design, but it does not eliminate the need to coordinate structural support and finished floor elevations.
- Drain connection: the specified Fundo Click and Seal drain connects to nominal Schedule 40, 2-inch PVC, ABS, or cast-iron waste pipe; copper connections require special wedi parts.
- System choice: point-drain, linear-drain, and curbless products have different base and connection details. Match the actual floor tile and drain location to the selected model before ordering.
A factory-sloped base can simplify layout, but existing framing or slab elevations may complicate the recess. Ask for a drawing showing the entry, adjacent bathroom floor, drain, and waterproof transition. Steam rooms need separate consideration: wedi documents Vapor 85 as a dedicated vapor-control assembly. An ordinary waterproof panel should not automatically be treated as the same steam-room specification.
Manufacturer references: Fundo Curbless data sheet, Fundo system data sheet, current installation manuals.
Johns Manville: GoBoard walls and a separate shower-pan system
GoBoard Tile Backer Board is a lightweight polyiso foam panel with waterproofing built into the board. Its exposed joints and fasteners still need waterproof treatment. For the floor, Johns Manville offers a separate system using sloped GoBoard Wedges and the GoBoard Point Drain Kit. Flat wall board is not a substitute for that sloped, drained assembly.
- Wall specification: the shower instructions call for 1/2-inch or 5/8-inch GoBoard; wall framing is limited to 16 inches on center.
- Joint space: leave the specified 1/8-inch gaps at board edges, corners, and changes of plane. These spaces receive sealant rather than being ignored.
- Sealant coverage: filled joints need sealant extending at least 1 inch onto each side. Fastener penetrations also require complete sealing with a listed product.
- Floor tile: Johns Manville’s Wedge FAQ gives a minimum recommended tile size of 2 inches. Check a proposed mosaic against the pan requirements before purchasing it.
The Point Drain Kit includes a waterproof membrane connection that must be integrated with the wedges exactly as documented. Its installation covers properly prepared wood and concrete subfloors; the existing floor and drain must suit the chosen arrangement. A different drain is not automatically interchangeable.
Residential steam showers require additional vapor control, such as GoBoard Membrane installed according to its instructions or a manufacturer-approved alternative. Ask which complete wall-and-floor detail is being quoted, which sealant is approved, and when the assembled shower can be tested. A sealant surface becoming dry to the touch is not a universal flood-test approval.
Manufacturer references: GoBoard wall and steam instructions, GoBoard shower-pan specifications.
LATICRETE HYDRO BAN: check the exact product name
Original HYDRO BAN is a liquid membrane used over suitable cement board, cured mortar and concrete. Its name appears on several different products, including XP and Quick Cure. Ask for the exact container and technical data sheet before comparing installation schedules. The figures below apply to original HYDRO BAN.
- Application: two main coats, each 15–22 mils wet, producing a combined 20–30 mils dry. A mil is one-thousandth of an inch; the installer checks the fresh coating with a wet-film gauge.
- Material allowance: approximately 50 square feet per gallon for the finished application. Measure walls, niches and other treated surfaces as well as the shower floor.
- Flood-test wait: typically 2 hours after the second coat has fully cured at 70°F and 50% relative humidity; allow 24 hours after final cure at 50–69°F and 70% relative humidity. Colder or wetter conditions require additional time.
The cured membrane changes from sage to olive green. The waiting period is not simply two hours after opening the bucket. These specifications come from the original HYDRO BAN data sheet.
Its fabric-free detail applies to properly prepared gaps no wider than 1/8 inch. Larger corner transitions and movement joints need their specified treatment. The product is not permission to coat OSB or construct a plywood shower pan. Drain connections must follow an approved assembly; the installation instructions illustrate a clamping-ring connection with weep openings.
Ask your contractor: “Will your proposal identify the HYDRO BAN version, the drain detail and the recorded thickness checks?”
CUSTOM RedGard: shower-pan coverage matters
Classic RedGard Waterproofing and Crack Prevention Membrane can serve different purposes, so one coverage figure does not describe every application. A quote for a waterproof shower pan should name that use explicitly. RedGard SpeedCoat is a separate product; its instructions should not be substituted for classic RedGard.
- Shower-pan application: the current linked data sheet specifies two coats at 80 square feet per gallon per coat for ANSI A118.10/IAPMO waterproofing. That gives approximately 40 finished square feet per gallon, before site-related losses.
- Thickness control: the same sheet limits each wet coat to 40 mils maximum. This is an upper limit, not a target to spread everywhere. The published application coverage remains essential.
- Drying and flood testing: typical drying is 1–1½ hours per coat; flood testing can begin after both coats are fully dry and solid red, with no pink areas. Low temperatures or high humidity can extend drying to as much as 12 hours.
These figures are from CUSTOM’s February 2025 technical data sheet, linked from its current product page. A general-waterproofing coverage claim should not replace its shower-pan specification.
The published clamping-drain detail includes reinforcing fabric at the flange. Ask to see that connection in the contractor’s proposed assembly: the red coating visible on the walls cannot tell you how the drain was connected. The manufacturer’s product page provides the application-specific coverage chart and supporting documents.
Ask your contractor: “Is your material quantity based on the pan-liner rate, and how will you document complete drying before the test?”
MAPEI Mapelastic AquaDefense: include the corner preparation
Mapelastic AquaDefense is another liquid-applied waterproofing option. For a Los Angeles project, use its U.S. instructions: similarly named products and overseas documents can have different specifications. Consider the treatment of corners, board joints and penetrations alongside the coating spread across the large wall surfaces.
- Field coats: MAPEI’s U.S. application table lists 20 mils wet for the first coat and 15 mils wet for the second, with a final dry film of approximately 20 mils minimum.
- Material allowance: approximately 60 square feet per gallon for two coats. Surface texture and installation conditions can change actual consumption.
- Flood-test wait: allow at least 12 hours under the stated 73°F and 50% relative-humidity conditions. Do not confuse readiness for tile with readiness to hold standing test water.
The figures above appear in MAPEI’s June 2025 U.S. technical data sheet. The temperature and humidity belong with the timing claim; they should remain visible on the job schedule.
MAPEI’s U.S. product FAQ calls for two pretreatment coats at corners, followed by the two field coats over them. It also explains that AquaDefense does not replace cement-board seam preparation: follow the board manufacturer’s mesh-tape and mortar requirements first. Reinforcing Fabric and Mapeband accessories are available for specified details; “optional fabric” does not mean corners can be ignored.
Ask your contractor: “Where will you pretreat, which drain connection will you use, and how will you verify the finished coating before tile hides it?”
Practical tradeoffs to discuss
- Traditional receptors: account for the mortar-bed buildup and coordination between the pan, drain and separate wall assembly.
- Sheet membranes: manufactured thickness helps control the material, while field-made seams, corners and bonds still require careful work.
- Liquid membranes: flexibility around shapes comes with responsibility for preparation, application thickness and curing conditions.
- Board and base systems: coordinated components can simplify some decisions, but the chosen footprint, floor conditions and all sealed connections still need to work for the project.
Can a contractor combine brands?
Some combinations have documented approvals; others are improvised. If a proposal combines products from different systems, request the applicable written compatibility information and clarify the warranty implications. Do not assume a collection of individually good products becomes a supported assembly when combined.
The same caution applies to adding an extra membrane “for insurance.” More layers can change drying behavior, bonding requirements and drain connections. A defined assembly is easier to evaluate than an undocumented stack of waterproofing materials.
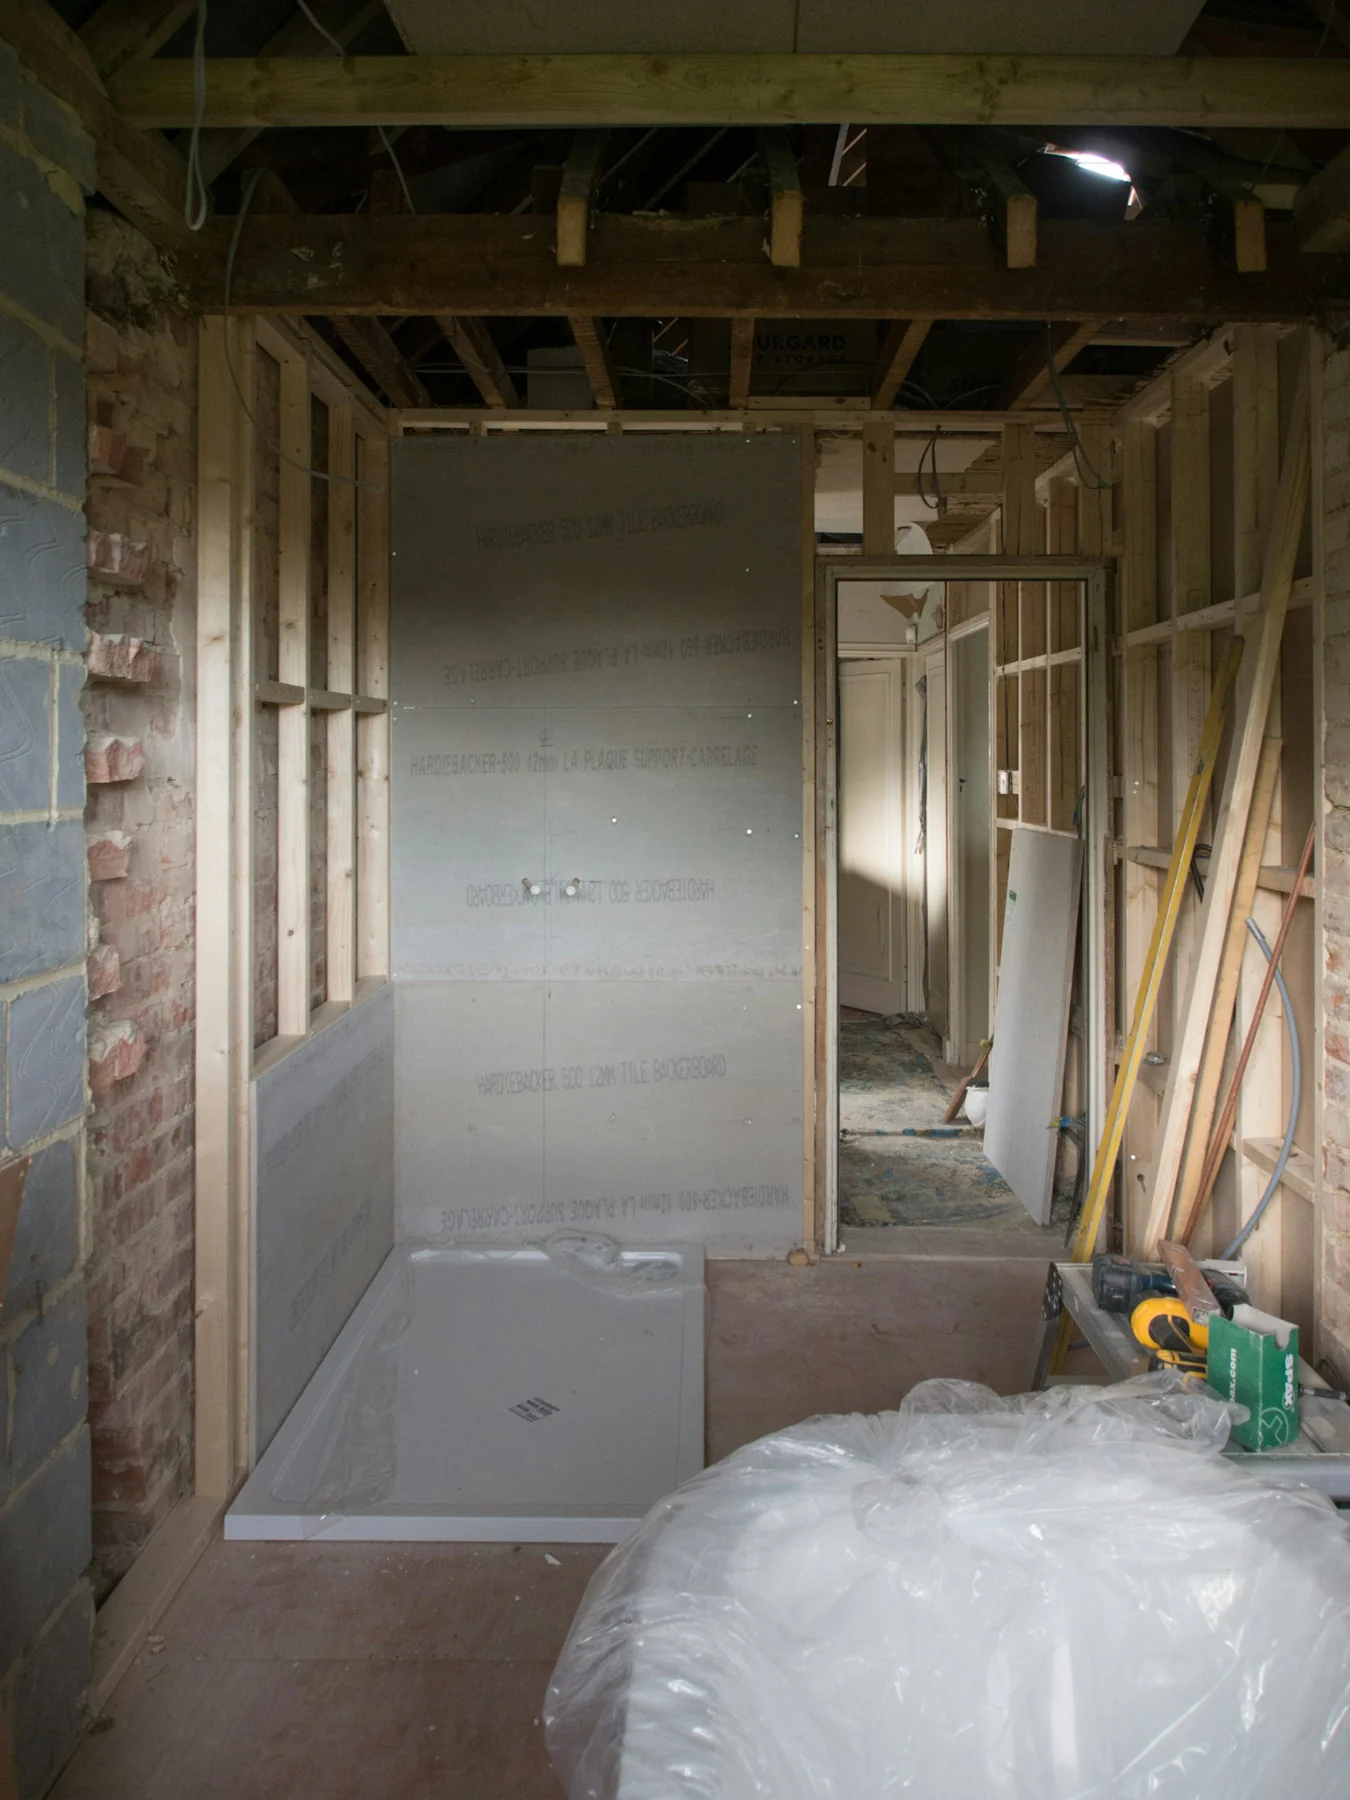
5. Turn a product name into a useful shower specification
Ask for a short assembly schedule with the estimate. It should connect the product choice to your house, rather than simply name a familiar brand. Here is what a clear schedule records:
Existing slab or wood floor; repairs and leveling; mortar bed or exact preformed base; intended finished-floor elevations.
Board type and thickness; framing requirements; fasteners; membrane or panel joint treatment; treatment at the pan.
Exact product and variant; sheet overlap or coating specification; corners, niches, benches and plumbing seals.
Manufacturer and model; compatible membrane-to-drain connection; pipe work and access; any approved adapter.
Required cure conditions; test setup and duration; inspection responsibility; protection before the next trade starts.
Tile size and load limits for the base; setting materials; glass attachment details; written material and workmanship warranty terms.
Wet film, dry film and coverage are different measurements
For liquid products, a mil is one-thousandth of an inch. Wet-film thickness describes the coating during application. Dry-film thickness describes what remains after drying. Neither is the same as the combined thickness of tile and mortar. Read whether a number applies to each coat or the completed application before comparing two data sheets.
Coverage also needs context. A rate of 80 square feet per gallon per coat does not cover an 80-square-foot area twice with that gallon. At that rate, two coats yield 40 square feet of completed two-coat coverage before allowance for actual job conditions. The contractor should document the product requirement and its verification, rather than judge thickness only by the finished color.
Check the product name on the container
HYDRO BAN, HYDRO BAN XP and HYDRO BAN Quick Cure have separate instructions. The same caution applies to RedGard Waterproofing and Crack Prevention Membrane versus RedGard SpeedCoat. A fast-cure claim or coverage rate from one version should not appear in an estimate for another. Photograph the delivered product label and retain the document used for the installation.
6. Small details that deserve a large share of the attention
Wide, flat wall areas are only part of the waterproofing job. Changes in geometry and openings create the places where separate pieces must become one continuous assembly. Ask to see those details before they disappear behind finishes.
The drain connection
The waterproof layer must connect to a drain detail intended for that assembly. Traditional clamping-drain systems and bonded waterproofing drains manage that connection differently. A linear drain changes the layout and slope strategy but does not eliminate the connection problem.
Confirm the exact drain model early. A last-minute drain substitution can affect floor height, waterproofing accessories and tile cuts. Its visible grate is only one component; the concealed body and connection are the parts that belong in the waterproofing discussion.
Corners, seams and pipe openings
Look for continuity at wall-to-wall and wall-to-floor changes of plane, panel joints and plumbing penetrations. These may require bands, preformed pieces, sealants, collars or another specified treatment. The requirement comes from the assembly, not from whichever leftover product is easiest to reach.
Photographs are useful records, especially when labeled by location. They cannot establish every hidden bond or application thickness, but they help demonstrate what was installed and make later service questions easier to answer.
Niches, benches and window returns
A niche introduces additional corners and a shelf that receives water. A bench creates a larger horizontal surface and more transitions. A window opening adds a sill and returns. Treat each as a waterproofed detail, not as a decorative tile feature that will be handled later.
Discuss drainage away from ledges and toward the shower. A sloped tile surface does not excuse an unsuitable waterproofing surface beneath it. Also coordinate niche depth, wall framing and exterior-wall conditions before cutting an opening.
Curbs, glass and accessory fasteners
A curb is part of the waterproof enclosure. The shower-glass installer’s fastening plan therefore belongs in the design discussion before the tile is finished. Avoid letting a later trade puncture a water-exposed waterproofed surface without a supported detail.
Grab bars, shower seats and other load-bearing accessories need suitable support as well as watertight penetrations. Waterproofing sealant is not a substitute for backing. Agree on accessory locations while the framing can still be accessed.
Original schematic showing discussion points, not an installation sequence or a recommended shower layout. The drawing omits proprietary seals, dimensions and structural details.
7. Four shower layouts and what changes behind the tile
The entry, glass and drain belong in the same drawing. A contained alcove shower can need a different floor buildup and water-containment strategy from an open wet area, even when both use the same membrane.
Reading the plans: these are original concept diagrams viewed from above and are not to scale. Dimensions are example finished footprints, not code minimums or an accessibility approval. Dark lines show walls, blue lines show glass, gold marks show a drain or entry boundary, and pale green shows the shower area. Door swings, framing, plumbing, spray reach and required clearances must be checked for your actual room.
A. Alcove shower in an existing tub location
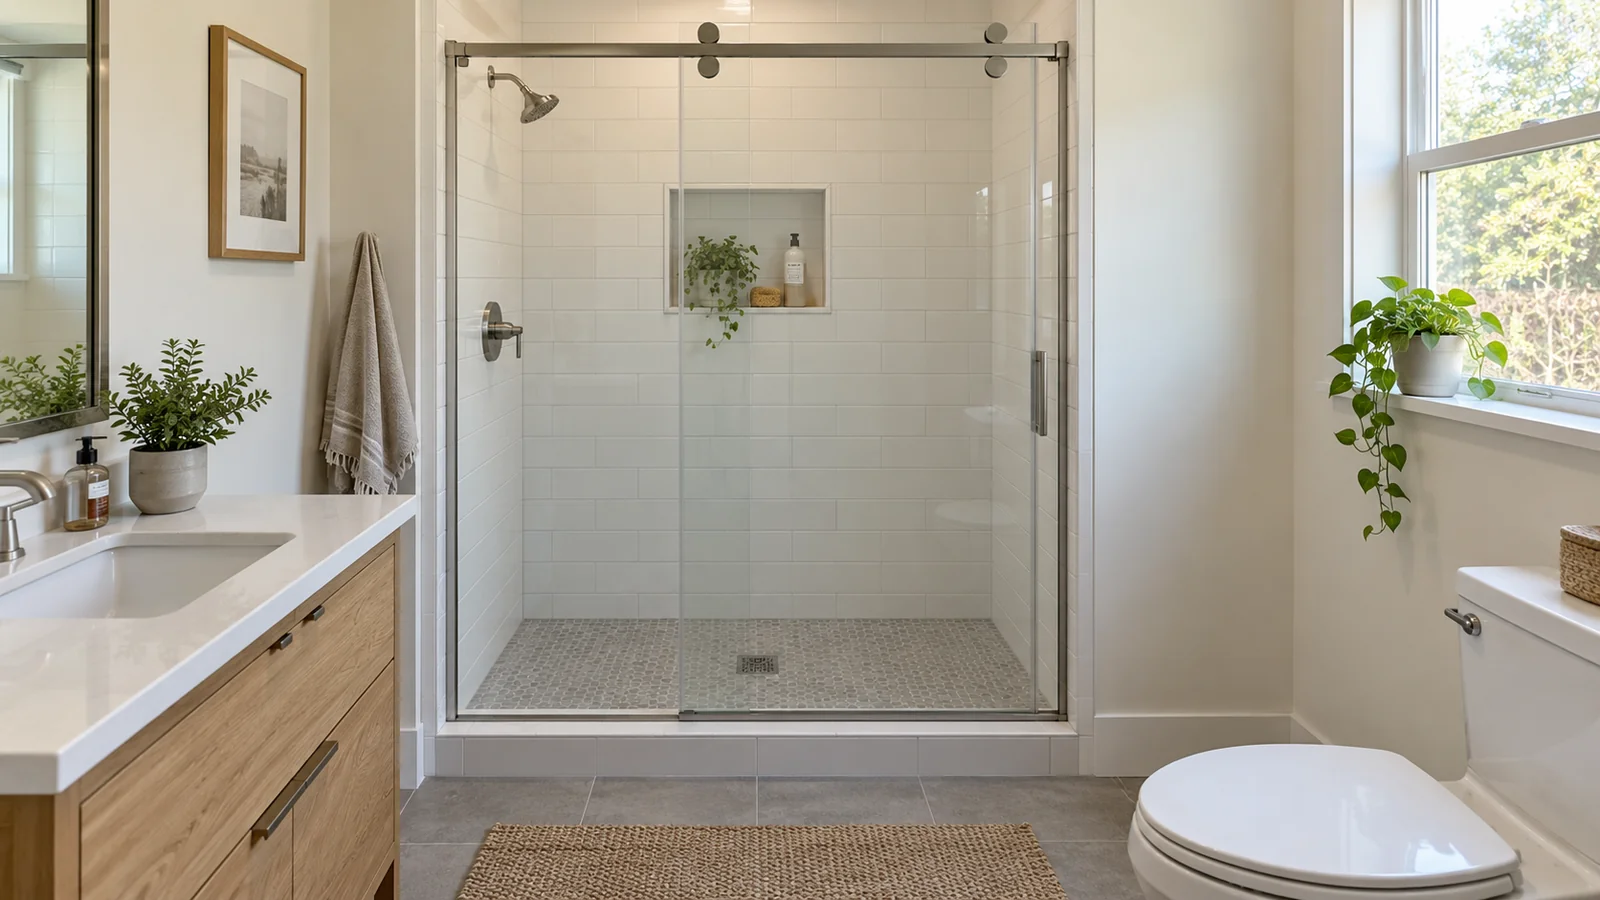
Why consider it: A familiar choice when the bathroom has three enclosing walls and a front entry. Sliding glass can avoid a door swing into a tight room.
Resolve early: Keeping the footprint may reduce layout changes, but it does not prove the old drain or concealed framing can remain. Specify the new drain connection, curb and pan-to-wall detail.
B. Corner shower with hinged glass
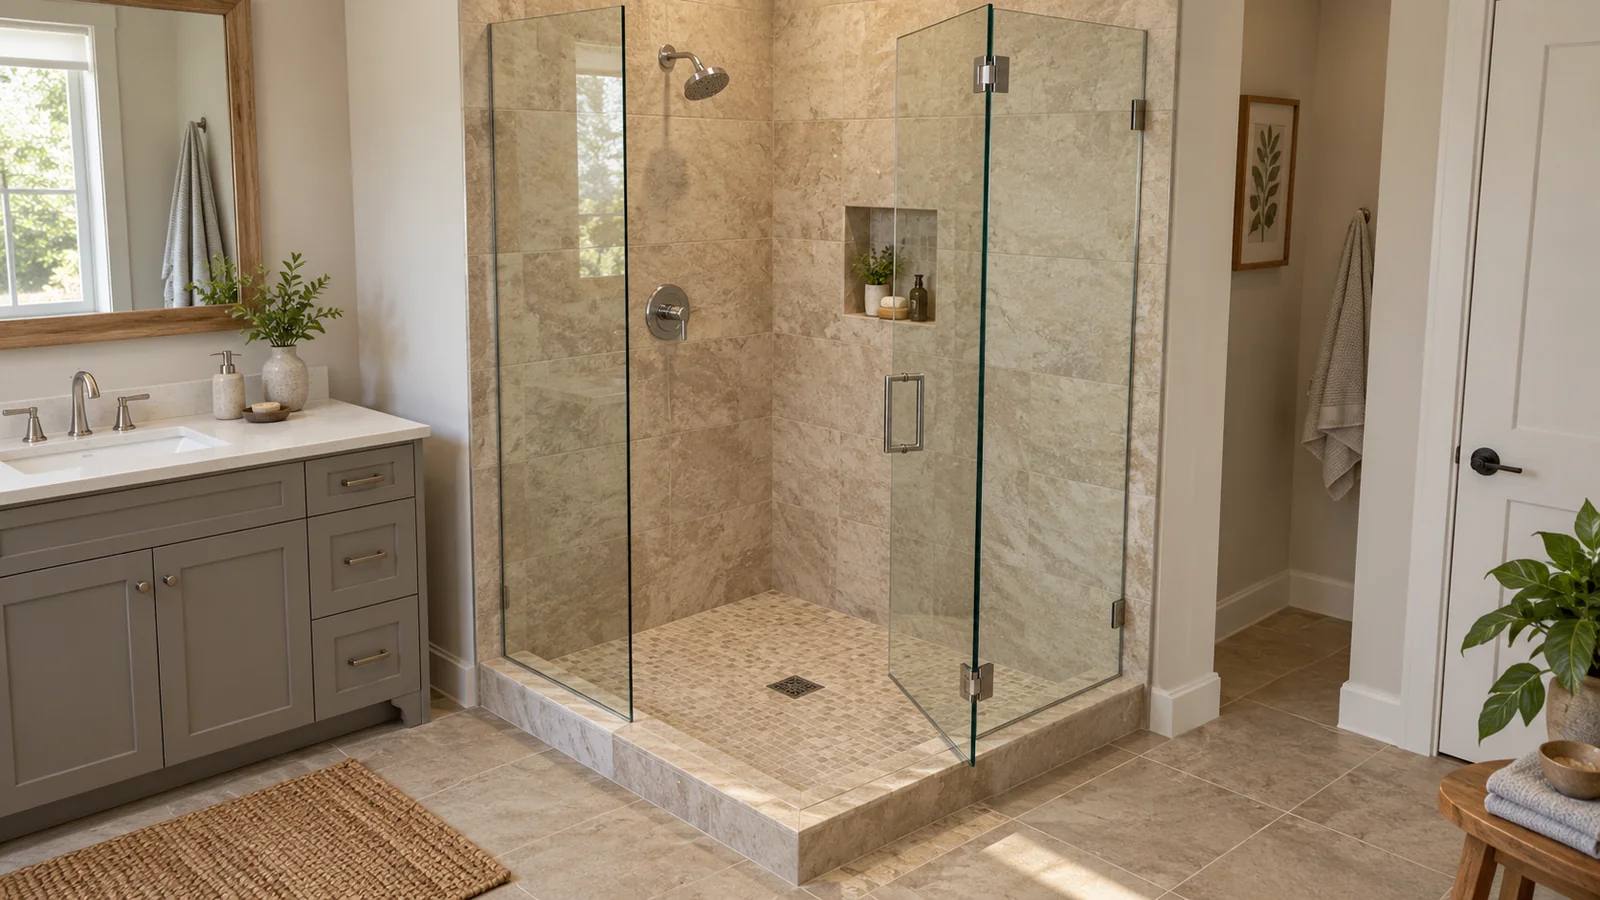
Why consider it: A useful arrangement when two solid walls meet and the other sides can be glass. It can preserve a more open view through the room.
Resolve early: Draw the glass door swing beside the vanity and toilet before ordering. Plan the glass fasteners and waterproof curb detail early; an attractive corner enclosure still needs adequate usable space.
C. Curbless shower with a rear linear drain
Why consider it: A rear drain can allow the shower floor to fall away from the entry. A fixed screen can contain spray while keeping the entry open.
Resolve early: Resolve floor recess or buildup, the membrane boundary outside the shower, and the screen length. A flush entrance needs more coordination than simply removing the curb.
D. Deeper walk-in with a return screen
Why consider it: Extra depth and a return screen can create a path into the shower that is less directly exposed to the showerhead.
Resolve early: The turn around the screen uses floor area. Check the clear opening and actual movement path, not only the overall room size. Assess spray from hand showers and waterproofing beyond the primary wet zone.
For curbless work, the supporting floor and adjacent bathroom elevations must be designed together. Schluter describes several curbless construction approaches, including recessing the floor or changing the surrounding buildup. The appropriate choice depends on the house and selected assembly.
What these layout ideas can look like
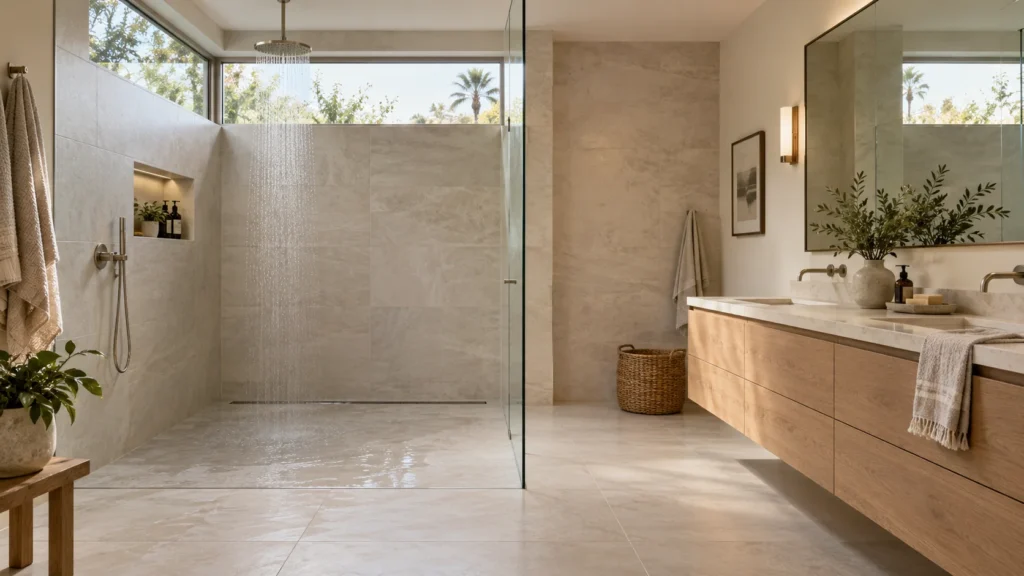
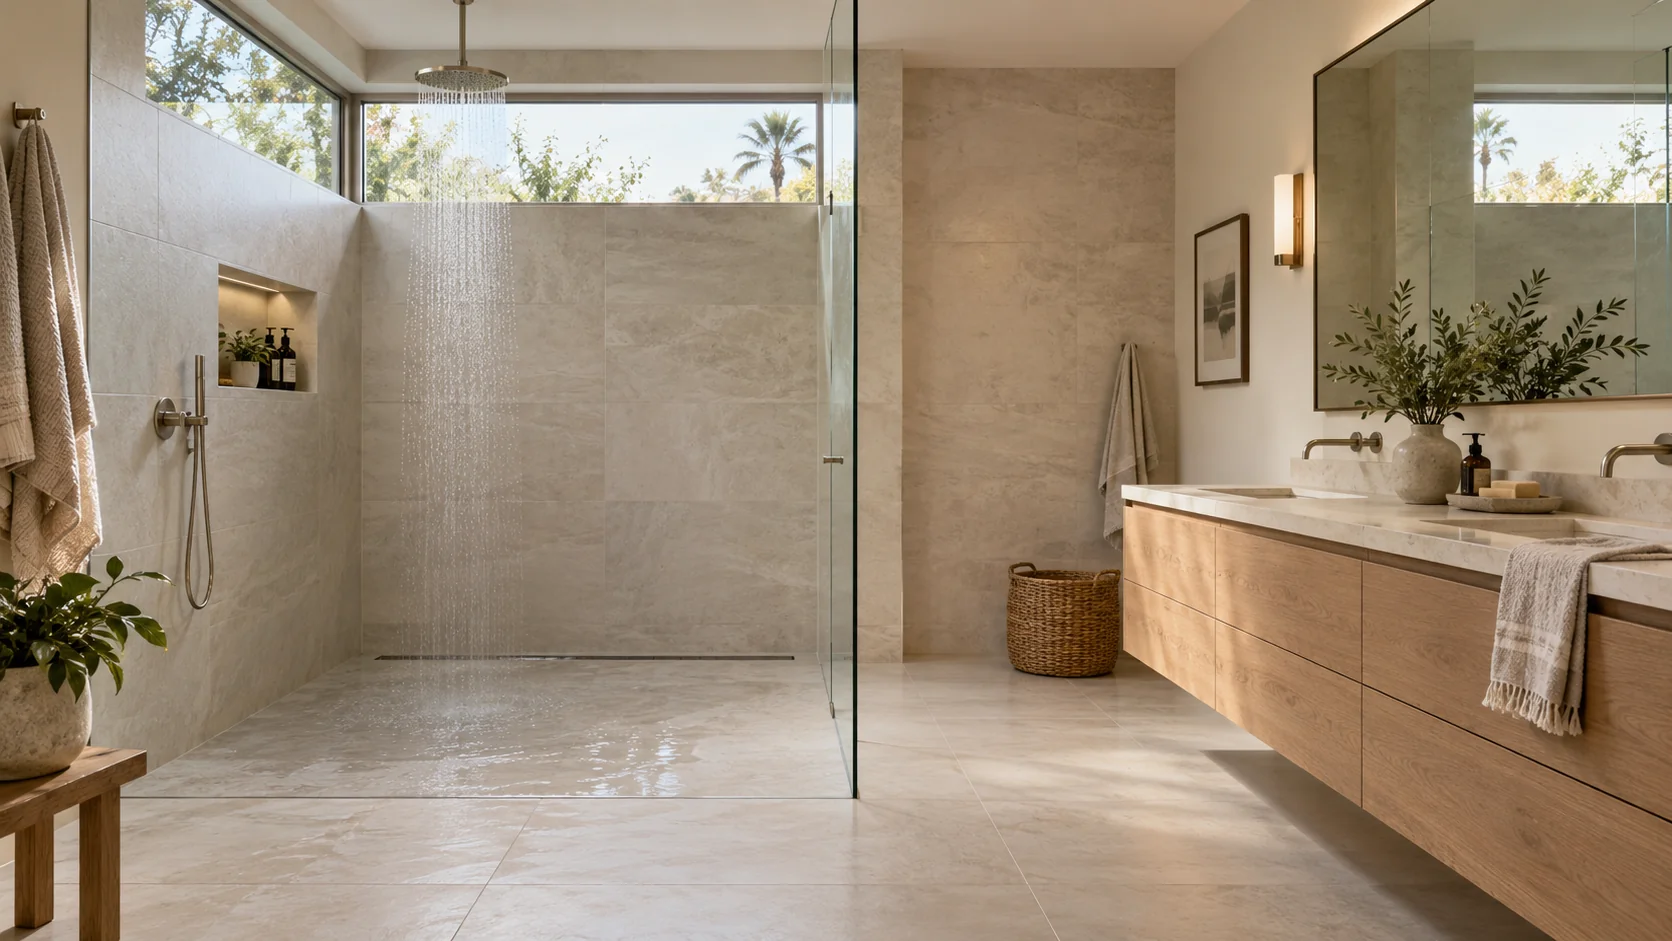
The following images are AI-generated design concepts. Use them to discuss proportions, glass and finish choices; they are not completed RCP projects or installation drawings.
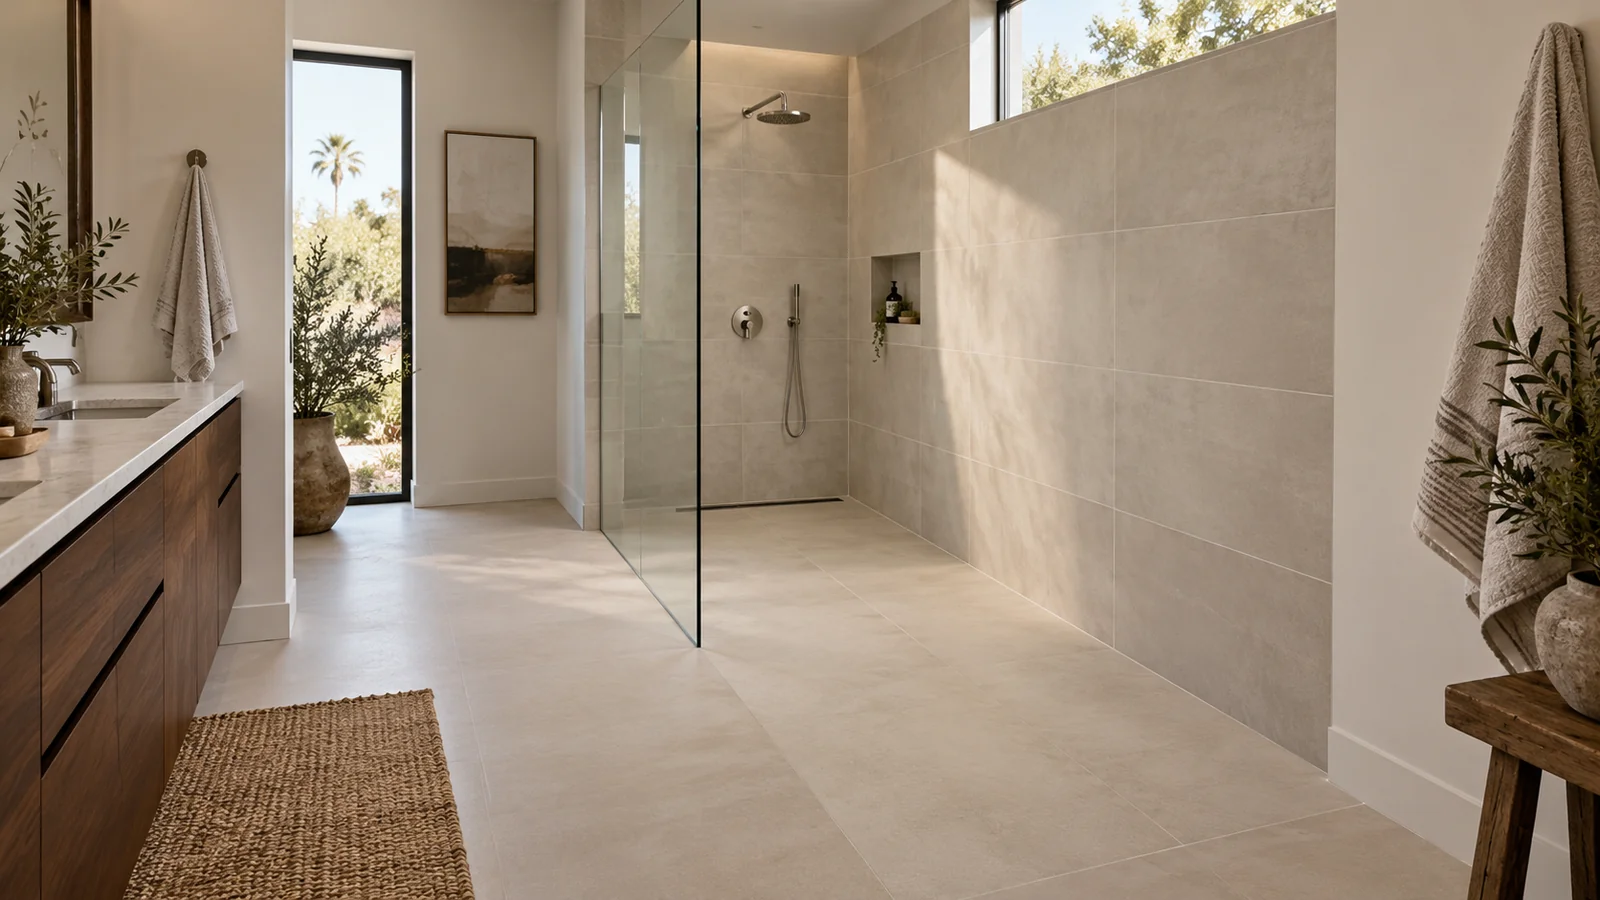
8. Point drain or linear drain: how the floor layout changes
The drain does two jobs: it receives surface water and provides the connection required by the waterproofing assembly. Its visible shape influences the floor design, but the hidden connection still has to match the chosen system.
Point drain: a central drain usually means the floor falls toward it from several directions. Small tile can make those changes of plane easier to follow. Larger tile may require deliberate cuts and a coordinated layout; do not assume an uncut large tile can bridge several slopes.
Rear linear drain: an appropriately designed rear drain can permit a single sloped plane and a different large-format tile layout. Drain length, location, side conditions and the selected base still matter. The diagrams simplify the geometry and do not establish the required slope.
Schluter’s KERDI-LINE product information describes single-plane designs and its bonded waterproof connection. It also calls for extra consideration when the drain sits at an entrance: an entrance drain is not automatically a guarantee that water stays inside. Match the actual showerheads, discharge and containment details to the chosen drainage design.
A useful design meeting: place the drain, showerhead, control, glass and entry on the same plan. Then ask the installer to explain where water travels during normal use and what happens when a hand shower is pointed toward the opening. This discussion is much easier before the slab is cut, the floor is framed or the glass is ordered.
9. Wood floors, concrete slabs and curbless entries need different preparation
On a wood-framed floor
Start with the structure and subfloor condition. Movement, damaged material or inadequate support cannot be solved by applying a stronger membrane. Tile and waterproofing depend on the supporting assembly meeting their requirements.
For a curbless shower, the design must reconcile drain elevation, the sloped shower surface, the waterproofing assembly and the adjacent finished floor. Sometimes a recessed assembly is feasible; sometimes raising part of the surrounding floor or revising the layout is more practical.
Do not assume joists can be cut or notched to gain depth. Structural changes require appropriate design and approval. A good contractor can identify when the project needs an architect or structural engineer before promising a flush entry.
On a concrete slab
The slab changes access, not the need for waterproofing. Concrete under a shower is not automatically a complete shower receptor. Drain relocation, the condition of existing plumbing and the required finished elevations still need to be resolved.
Before cutting, coring or drilling, establish what is in the slab and whether it is post-tensioned. Embedded tendons, reinforcing and utilities require appropriate investigation and a planned approach. The Post-Tensioning Institute’s guidance on openings in existing slabs addresses the need for analysis and a planned approach. The waterproofing choice should follow a feasible drain and floor design, rather than drive an unexamined decision to cut the slab.
At a curbless entry
A curbless entry removes the raised threshold that helps contain water. It does not remove the need for slope or establish that an entire bathroom is waterproof. The design must define where spray and runoff can go, how the entry is handled and how adjoining construction is protected.
Shower size, spray direction, glass placement and the drain arrangement work together. A small open shower with a hand shower aimed at the doorway behaves differently from a deeper enclosure with a fixed screen. Ask for a plan that addresses actual use, not just an attractive rendering.
For more on elevations, accessibility and layouts, read our curbless shower construction guide. A zero-threshold entrance alone does not make a bathroom ADA compliant; accessibility depends on the applicable standards and the complete layout.
Steam showers are a separate design conversation
If the shower will include a steam generator, say so before selecting materials. Steam exposure introduces vapor-management requirements beyond those of an ordinary residential shower. Not every product or detail approved for a standard shower is suitable for that steam application.
Coordinate the enclosure, waterproofing and vapor control, ceiling and wall details, penetrations and equipment instructions as a complete design. A steam generator should not be treated as an accessory added after the shower assembly has already been chosen.
10. Curing time, flood-test duration and inspection approval are three different things
“We do a 24-hour flood test” can sound reassuring, but it leaves several questions unanswered. When was the membrane installed? When was it ready to be filled? What parts did the test include? Did the required inspection occur?
Conceptual sequence. Your contractor and the responsible inspector establish the actual hold points, test requirements and approval sequence.
First: wait until the selected assembly can be tested
Materials need the curing time specified for their conditions. Schluter’s guidance calls for waiting at least 24 hours after KERDI installation before water testing under normal conditions, with longer time when temperatures are lower. That waiting period is not a statement that the subsequent test must last 24 hours.
Liquid membranes require particular attention to the exact product and conditions. Some products offer rapid testing under defined circumstances, but that is not permission to use the shortest advertised time for every coating, substrate or room temperature. Consult the KERDI water-test guidance or the selected liquid membrane’s current data sheet and record which requirement the contractor followed.
Second: carry out the required test correctly
The responsible installer should establish the test setup, water level, drain isolation and test period required by the applicable code, authority and system instructions. For a curbless entry, temporary containment may need its own planned detail. A test that damages the new membrane is not a useful shortcut.
Ask the contractor to record the date, start and finish conditions, photographs and result. The setup needs to test the intended receptor and drain connection rather than inadvertently leaving a vulnerable joint outside the test. Any water-level change requires evaluation; it should not automatically be dismissed or diagnosed from a single photograph.
If a problem appears, identify and correct it using an appropriate system detail, then complete the required retesting before concealment. Moving ahead with tile because the schedule is tight can turn an accessible repair into a destructive one.
Third: obtain the inspection release required for the work
A contractor’s test and a government inspection serve different purposes. Where an inspection is required, the permit and the local inspection process determine when work can proceed. Confirm the actual sequence with the department responsible for your address.
A passed pan test is valuable, but it does not certify every wall seam, shower-valve opening or future glass fastener. Continue documenting the wall assembly and protect the pan after testing. Later damage can undermine an installation that previously held water.
11. What Los Angeles homeowners should confirm about permits
Start with the property’s governing building department. “Los Angeles” can mean the City of Los Angeles, unincorporated Los Angeles County or a separate city. The San Fernando Valley and Orange County also contain different jurisdictions. A mailing address or a contractor’s service-area description does not determine the permit authority.
California’s 2025 building standards took effect January 1, 2026. Local amendments, the permit application date and the approved project documents can affect the requirements that apply. Old online handouts may still be easy to find, so confirm the current requirements for the actual project.
The City of Los Angeles provides an express-permit route for certain nonstructural kitchen and bathroom remodels that do not require plan check. That is a limited processing route, not an exemption from permits, trade requirements or inspections. Moving a drain, altering framing or changing the scope can change the approval path. LADBS separately explains its plumbing permit requirements for installations and modifications to plumbing systems.
Before signing the construction agreement, clarify who will identify and obtain the required permits, whether plans are necessary, which inspections apply and who schedules them. Ask for permit information and inspection records as part of the project file. A bid that simply says “permits by owner” leaves important coordination work unresolved.
We do not recommend treating a general internet article as a substitute for the approved shower detail or an inspector’s direction. The useful role of this guide is to help you ask more precise questions and identify missing scope before construction starts.
12. Can a leaking shower be repaired without rebuilding it?
Sometimes a problem is localized; sometimes the visible symptom comes from a concealed failure. Water outside a shower can originate from a supply connection, drain piping, glass enclosure, failed joint or waterproofing assembly. Those causes do not call for the same repair.
Begin with an assessment that identifies the likely source and the affected area. If active leakage is causing damage, stop using the shower and arrange appropriate evaluation. Repeatedly using it to “see if it still leaks” can enlarge the repair.
| What you notice | What should be investigated | What not to assume |
|---|---|---|
| Water at the door or outside the enclosure | Spray direction, door seals, threshold details, slope and possible concealed leakage. | That every wet floor means the pan has failed. |
| A stain on the ceiling below | Supply piping, drain piping, fixture connections and the shower assembly. | That new grout will fix the source. |
| Loose tile or persistent dampness | Substrate condition, bonding, moisture source and concealed damage. | That replacing the visible tile restores waterproofing. |
| A failed receptor test | Test setup, drain connection and the waterproof receptor. | That a surface sealer is an adequate repair. |
A local waterproofing repair may be possible when the existing system is identifiable, sound material is accessible and a supported connection can be made. The repair boundary matters. Removing one tile can damage more membrane than is visible at first.
If the system is unknown, damaged over a wider area or inaccessible at critical connections, a larger rebuild may be more reliable. Ask the contractor to explain what the proposed repair actually restores, what remains unverified and what warranty applies to that scope.
Be cautious of absolute promises made before the shower has been assessed. Neither an automatic recommendation to rebuild everything nor an automatic promise to fix everything with caulk is a substitute for understanding the failure.
13. What affects shower waterproofing costs in Los Angeles?
A price for applying waterproofing is not the same as a price for rebuilding a shower. Two proposals can differ substantially because one includes demolition, drain replacement, substrate repairs and testing while the other assumes those tasks have already been completed.
There is no dependable project-specific price without knowing the shower dimensions, assembly, access and existing conditions. A small pan treatment price should not be presented as the budget for a complete shower conversion. The most useful first step is a comparable written scope.
| Cost factor | Why it changes the work | Question for the estimate |
|---|---|---|
| Demolition and access | Opening a first-floor shower differs from protecting occupied rooms and accessing a ceiling below. | What removal, protection and disposal are included? |
| Hidden damage | Framing or subfloor repairs may only be measurable after opening the enclosure. | What is included, and how will concealed conditions be priced? |
| Drain and plumbing | Relocation, replacement and assembly compatibility can change labor and floor work. | Which drain model and piping changes are included? |
| Waterproofing system | Panels, membranes, corners, sealants and labor differ by assembly. | Are all components and transitions specified? |
| Layout details | Benches, niches, windows and curbless entries add design and installation work. | Is each feature shown and priced? |
| Testing and inspections | Required curing, testing, inspection access and any retesting affect sequencing. | Who performs, documents and schedules each step? |
| Finishes and glass | Tile format, stone work and enclosure details can exceed the waterproofing portion of the budget. | Are these included or separate allowances? |
Compare the same shower in each proposal
Consider a homeowner replacing a leaking tiled shower while keeping its location. One bid includes a new compatible drain, removal to sound backing, a specified waterproofing assembly and documented testing. Another includes only “waterproof shower and retile.” The second number might be lower because significant decisions and costs remain unresolved.
Ask both contractors to describe the same repair boundary and finish assumptions. Separate necessary repairs from optional features such as a larger niche, new bench or curbless conversion. This makes it easier to spend on reliability without confusing every design upgrade with essential waterproofing work.
For concealed damage, agree on a change-order process before demolition. California’s CSLB guidance on home improvement contracts explains the importance of written agreements and change orders. Document the discovered condition, proposed correction, cost and schedule effect before authorizing changed work.
Allow time for the assembly, not just the installer’s labor
Waterproofing schedules include preparation, installation, curing, testing and inspection availability. Tile setting and grout have their own product-dependent requirements afterward. A one-day material claim is not a promise that the entire bathroom can be completed or used in one day.
Ask for the next decision or inspection that controls progress. Ordering the drain and coordinating the glass attachment detail early can be more useful than trying to compress mandatory curing time at the end.
COMPARE A CLEAR CONSTRUCTION SCOPE
Planning a shower remodel in your home?
Tell us whether the project involves a leak, a new shower or a curbless conversion. We can discuss the design, repairs and construction scope for your property.
14. What to check before tile and what to keep afterward
You do not need to become a tile installer to request a useful project record. Agree on a short checkpoint before the waterproofing is concealed. The contractor should be able to identify what was installed and which checks were completed.
- Assembly identified: exact pan, wall, membrane and drain products are recorded.
- Preparation resolved: damaged supporting materials and required floor or wall corrections are addressed.
- Transitions complete: corners, seams, niches, benches, curbs and penetrations have their specified treatment.
- Drainage checked: the required slopes and drain connections are confirmed.
- Testing documented: required wait, test setup, duration, result and any retest are recorded.
- Inspections released: required approvals are documented before covered work proceeds.
- Later trades coordinated: glass, accessories and finishing work have a plan to protect the waterproofing.
- Records retained: photographs, product documents, permits and warranties are saved together.
For a broader concealed-work checklist, see what to repair before bathroom walls close. Waterproofing belongs in that sequence alongside plumbing, electrical work, ventilation and structural preparation.
After the required curing and permission to use the shower, ask the contractor to check actual drainage, spray containment at the enclosure and accessible fixture and drain connections. This operating check is separate from the earlier static receptor test; one does not replace the other.
At handover, ask when the shower can first be used and which cleaning products are compatible with its finishes and seals. Understand which maintenance items are the homeowner’s responsibility and how to report a concern. A manufacturer’s material warranty and a contractor’s workmanship warranty may have different terms; retain both rather than assuming they cover the same events.
Frequently asked questions about shower waterproofing
Is hot mop better than a sheet membrane?
There is no universal answer for every shower. Compare the complete assembly, drain connection, floor buildup, layout, local acceptance and installer experience. Good preparation and complete details matter with either approach.
Does cement board make the shower waterproof?
Do not assume that it does. Identify the backing product and the wall’s specified water-control method. A board’s ability to tolerate moisture does not automatically mean its surface, joints and connections form a waterproof enclosure.
Does every shower require a 24-hour flood test?
Do not assume one duration applies everywhere. The wait before testing, the required test period and inspection procedures are separate requirements. Confirm all three for the exact product, approved assembly and responsible building department.
Can waterproofing be added over the existing tile?
That depends on the approved system, existing condition and the ability to create every required connection. A coating over tile does not automatically repair concealed defects, damaged backing or a drain connection. Request a documented assessment before choosing an overlay repair.
Can I waterproof only the shower floor?
A shower needs a complete wall-and-receptor water-management strategy. The details may differ by assembly, but the pan alone does not address wall corners, plumbing openings or the wall-to-pan connection.
Does a linear drain prevent leaks?
No drain shape guarantees a leak-free shower. The selected drain must be compatible with the waterproofing assembly and correctly connected. Its placement also affects slope and tile layout.
Should I choose tile before choosing waterproofing?
You can develop the design together, but confirm assembly and tile compatibility before purchasing. Drain geometry, floor slope, tile size and substrate requirements can affect which finishes work well. Large-format tile and small mosaics can require different layout decisions.
Do you serve the San Fernando Valley and Orange County?
Contact Remodeling Contractor Pro with the property address and project scope. We discuss shower and bathroom remodeling projects in Los Angeles, the San Fernando Valley and Orange County and confirm service availability and the next step for your location.
Plan the waterproofing before you choose the final finish
A well-planned shower starts with the existing conditions, a suitable assembly and clear responsibility for the details. If you are replacing a leaking shower, remodeling a bathroom or planning a new shower in Los Angeles, the San Fernando Valley or Orange County, let’s discuss your project.
Send a few photos, your property location, the changes you want and any available plans. We can review the architectural and construction scope and explain the next steps.
Technical references
This guide draws on current manufacturer instructions and official California and local permitting resources linked above. Use the instructions for the exact product and the project’s approved documents; a general comparison cannot specify an installation for every building. Illustrations are explanatory concepts, and stock photographs are identified in their captions.