Home additions · Los Angeles area
Second-Story Addition Planning: Where Will the Stairs Fit?
Place the staircase on both floors before deciding how much useful space a second story will add. A promising upper-floor outline can consume an existing room, interrupt a familiar route or leave more landing and hallway than you expected. Compare stair locations with one consistent area ledger and the household routines each option changes.
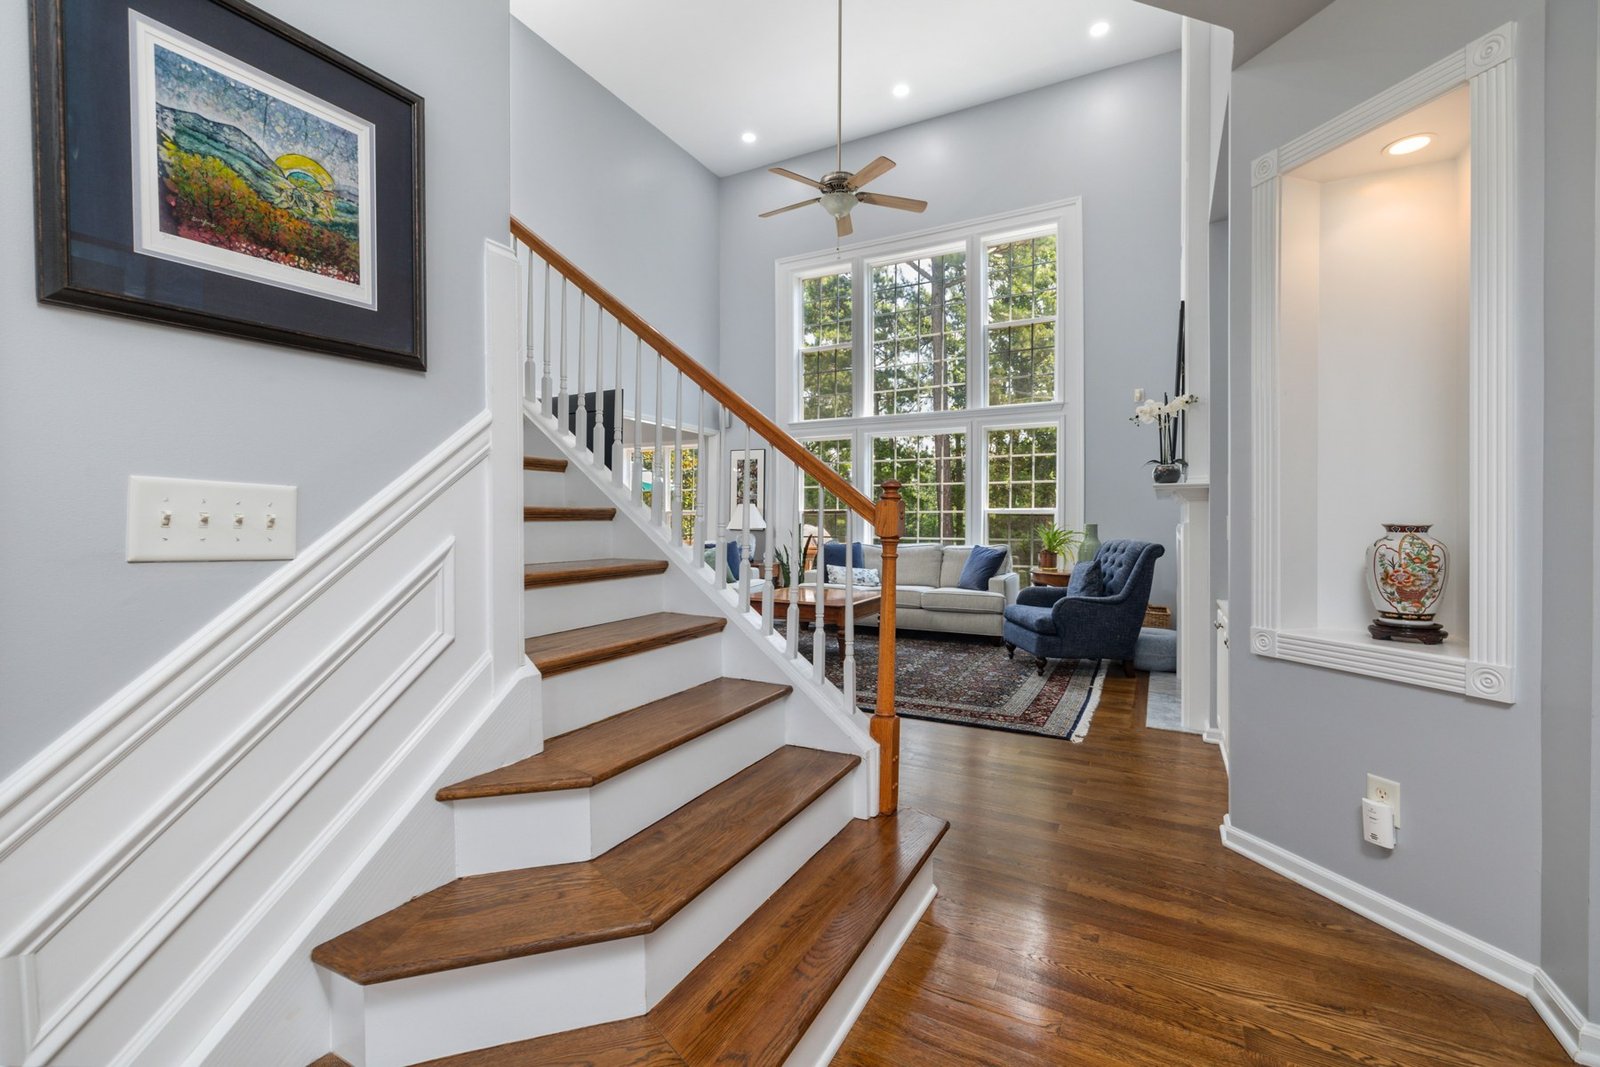
Explore this guide
Make the staircase a two-floor question
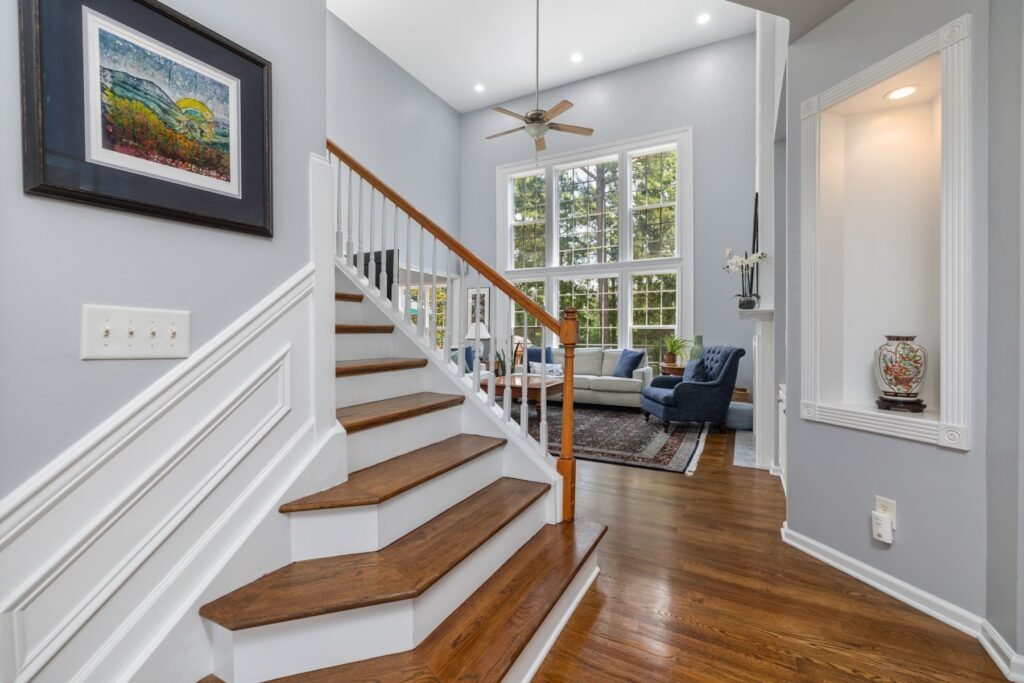
After choosing to investigate building upward, start the layout discussion where the new floor meets the existing home. Locate the stair’s lower approach, its route upward, the opening through the upper floor and its arrival. Then put the existing doors, furniture, storage and windows back on both plans. The question is whether the whole connection works, including the rooms that will remain downstairs.
A stair near the front entrance may give the new level a direct connection to arrival. It may also consume part of a front room or change what a visitor sees. A stair near a central hallway may fit familiar household routes, yet make the upper landing more exposed to activity below. Neither location is inherently preferable. The household needs and the existing house determine which compromise deserves further design work.
This guide begins after the upward direction has been selected for study. If that choice remains unsettled, read Build Up or Build Out? first. Here, compare stair locations within the second-story concept rather than reopening the overall addition choice every time a stair moves.
Ask the designer for at least two comparable location studies. Each should show both levels, the same intended upper-floor uses and the same accounting convention. Otherwise, a more developed option can appear better simply because its hallway, walls or downstairs consequences have been drawn more honestly. Write down which assumptions remain provisional before deciding that one option provides more usable space.
The result should be a clear next choice: which stair location to develop, what it gives up and what information could change that choice. It need not settle every finish or room detail. It does need to show that the desired upstairs rooms are being gained through a connection the household can live with.
Define the area before comparing the numbers
For this guide, upper-floor program area means the hypothetical gross upper-floor planning envelope minus four nonoverlapping allocations: stair/opening, landing and hall, walls and shafts, and any other separately identified excluded area. It is the planning area left for the intended rooms and their internal use. This is a custom decision aid, not a zoning, legal floor-area, appraisal or official measurement method.
The gross planning envelope in the example deliberately includes the upper-level stair/opening allocation so that it can be deducted once. If your designer’s starting figure already excludes the opening, use a different ledger with that fact stated. Do not copy the deduction into a figure that already removed it. Agreeing on the starting boundary matters more than choosing a polished name for the total.
Keep the existing lower-floor program area displaced in a separate column. That quantity describes existing useful room or storage area reassigned to the stair connection and any new approach under the chosen convention. It does not get subtracted from upper-floor program area. It also should not include an existing hallway merely because the stair touches it, unless the study explains an actual additional loss.
This two-ledger approach is an original planning recommendation. It helps interpret the separate floor and section information requested in the City’s current residential plan checklist, but it does not replace the project’s required area calculations. Ask the designer to provide those official calculations separately and identify which numbers are being used for each purpose.
Use consistent boundaries across the alternatives. If walls and shafts are deducted in Option A, deduct them in Option B. If a landing is included in the stair allocation, do not deduct it again as circulation. When an area serves two purposes, assign it to one category and note the overlap in words. An apparent improvement caused by relabeling a landing is not a gain in room space.
| Ledger item | Meaning | Counting rule |
|---|---|---|
| Gross upper planning envelope | Starting upper-floor concept area, including the stair/opening allocation in this example. | Do not mix with an official area figure using another boundary. |
| Stair/opening allocation | Upper-level plan area reserved to the stair connection. | Deduct once; the example excludes separate landing/hall area from this allocation. |
| Landing and hall | Separate upper circulation beyond the stair/opening allocation. | Do not include the same square feet in both rows. |
| Walls and shafts | Allowance excluded from room program area. | Use the same convention in both studies. |
| Existing lower program area displaced | Previously usable downstairs area reassigned to the connection. | Report separately from the upper-floor result. |
Work through a hypothetical stair ledger
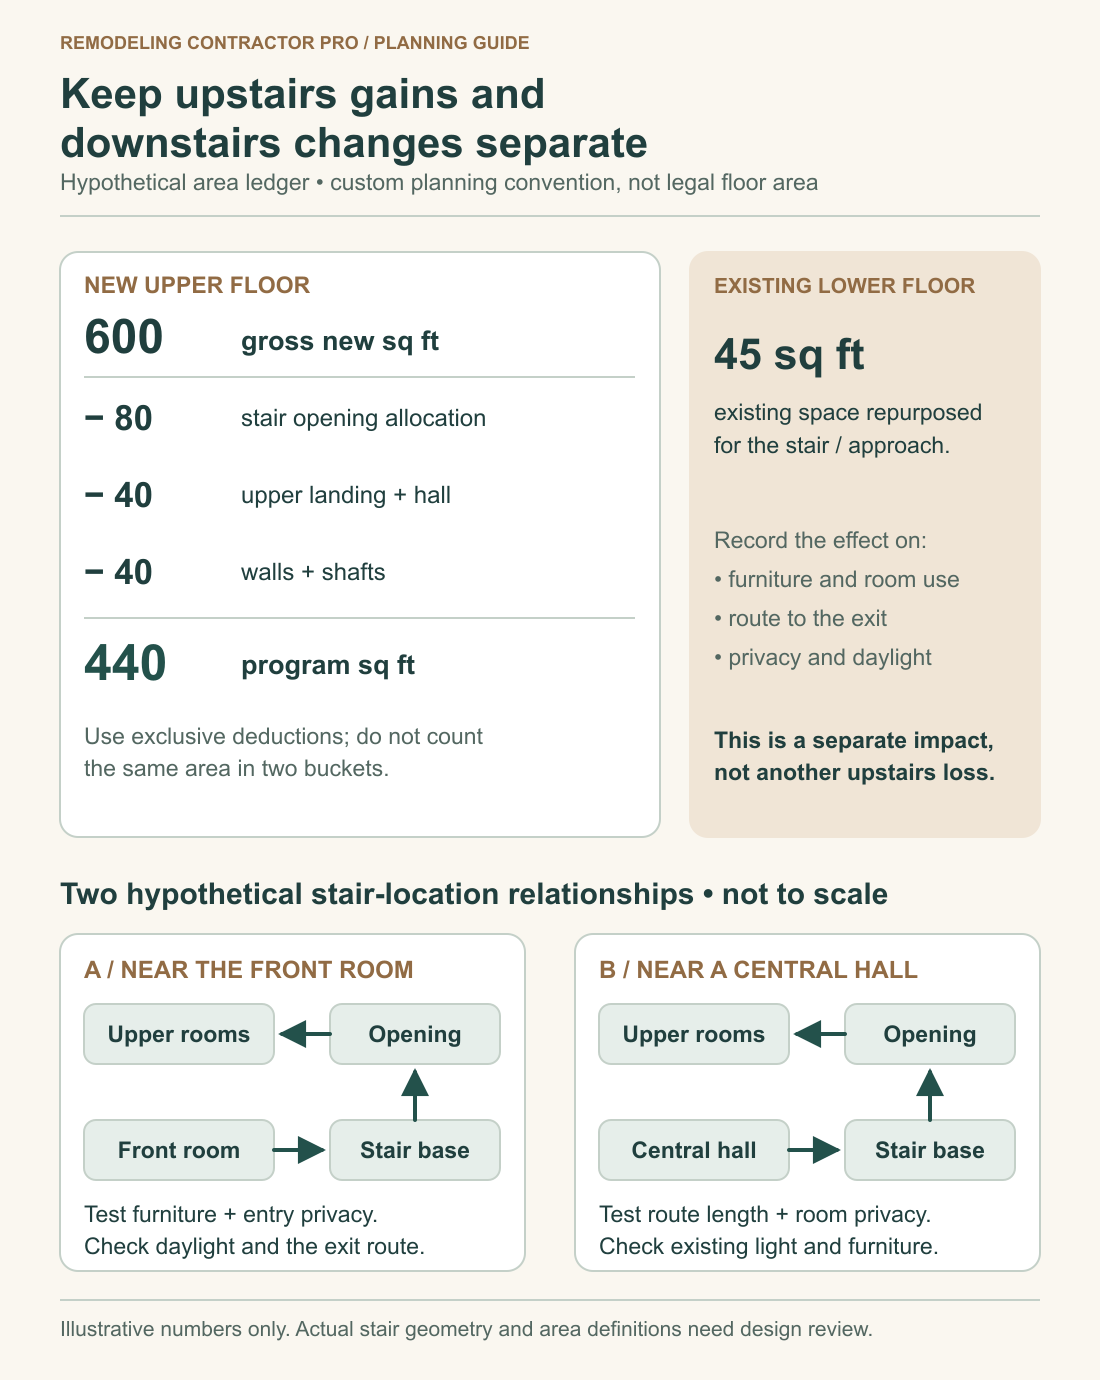
Imagine an upper-story concept with a gross planning envelope of 600 square feet. The designer’s preliminary allocation reserves 80 square feet to the stair/opening, 40 to a separate landing and hall, and 40 to walls and shafts. Under the definition above, the upper-floor program area is 600 − 80 − 40 − 40 = 440 square feet. These are invented planning figures, not measured stair dimensions or a recommendation for any house.
The same hypothetical concept displaces 45 square feet of existing downstairs program area. Keep that loss separate: the owner gains 440 square feet of upper-floor program area under this convention while giving up 45 square feet of existing lower-floor program area. The 45 is not another upstairs circulation deduction. The lower-floor plan must show what that lost area used to do.
A second location can use the same gross envelope yet distribute it differently. Suppose its stair/opening allocation is 90 square feet, landing and hall are 25, and walls and shafts remain 40. It leaves 445 square feet of upper-floor program area, while displacing 65 square feet downstairs. The second study leaves five more square feet upstairs but displaces twenty more downstairs. Those differences alone do not identify the better household result.
| Planning item | Location A | Location B |
|---|---|---|
| Gross upper planning envelope | 600 sq ft | 600 sq ft |
| Upper stair/opening allocation | 80 sq ft | 90 sq ft |
| Separate upper landing/hall | 40 sq ft | 25 sq ft |
| Upper walls/shafts allowance | 40 sq ft | 40 sq ft |
| Upper-floor program area | 440 sq ft | 445 sq ft |
| Existing lower program area displaced, separately reported | 45 sq ft | 65 sq ft |
Now describe the losses in practical terms. If A removes underused storage and B interrupts the only workable dining layout, a five-square-foot upper advantage may not matter much. If A leaves an awkward upper hallway while B makes the rooms easier to enter, B may still deserve consideration. The ledger tells you where to ask the next question; furniture and everyday routes tell you what the numbers mean.
Do not use the figures to estimate a universal percentage lost to stairs. The real study depends on the house, floor-to-floor relationship, proposed stair system and required review. Revise the ledger when the plan changes. A preliminary allowance becomes misleading if it stays fixed while the opening, landing or walls move.
Study A: connect through the front room
The first original location study places the stair connection near the front portion of a hypothetical home. Downstairs, arrival and the stair approach are close together. Upstairs, the landing connects to the proposed rooms through a distinct circulation zone. The diagram shows relationships only; it is unscaled and does not establish a compliant stair, room arrangement or structural solution.
Begin with what happens to the front room. Put back its actual sofa, dining table, work area or storage, using reliable sizes. Draw how someone arrives with groceries, how another person passes while the front door is open, and how the room is used when the stair is busy. A rectangle labeled “living” can conceal a large functional loss if its remaining usable wall is interrupted.
The potential appeal is direct access between entry and the new floor. The tradeoff is that upstairs movement becomes part of the front-room experience. Ask whether the owner wants visitors to see the stair and whether people using the upper level should pass a social space. A family that values an open connection may welcome that relationship; a household with conflicting routines may want more separation.
Check the upper arrival as carefully as the lower entrance. Where does a person look on reaching the landing? Does a room door open toward that view? Can someone pause without occupying a bedroom doorway? These are household questions before they become detailed design choices. A privacy preference should appear as a specific relationship for the designer to study rather than a general request for “a private upstairs.”
Identify the information that could overturn this preference. The existing measured plan, floor-to-floor information, window positions, proposed opening and structural assessment all matter to development. If the front-room concept assumes moving a service or altering a wall, mark that assumption. Do not compare its attractive drawing with a central-hall concept that includes those constraints while leaving its own constraints invisible.
Study B: connect near the central hall
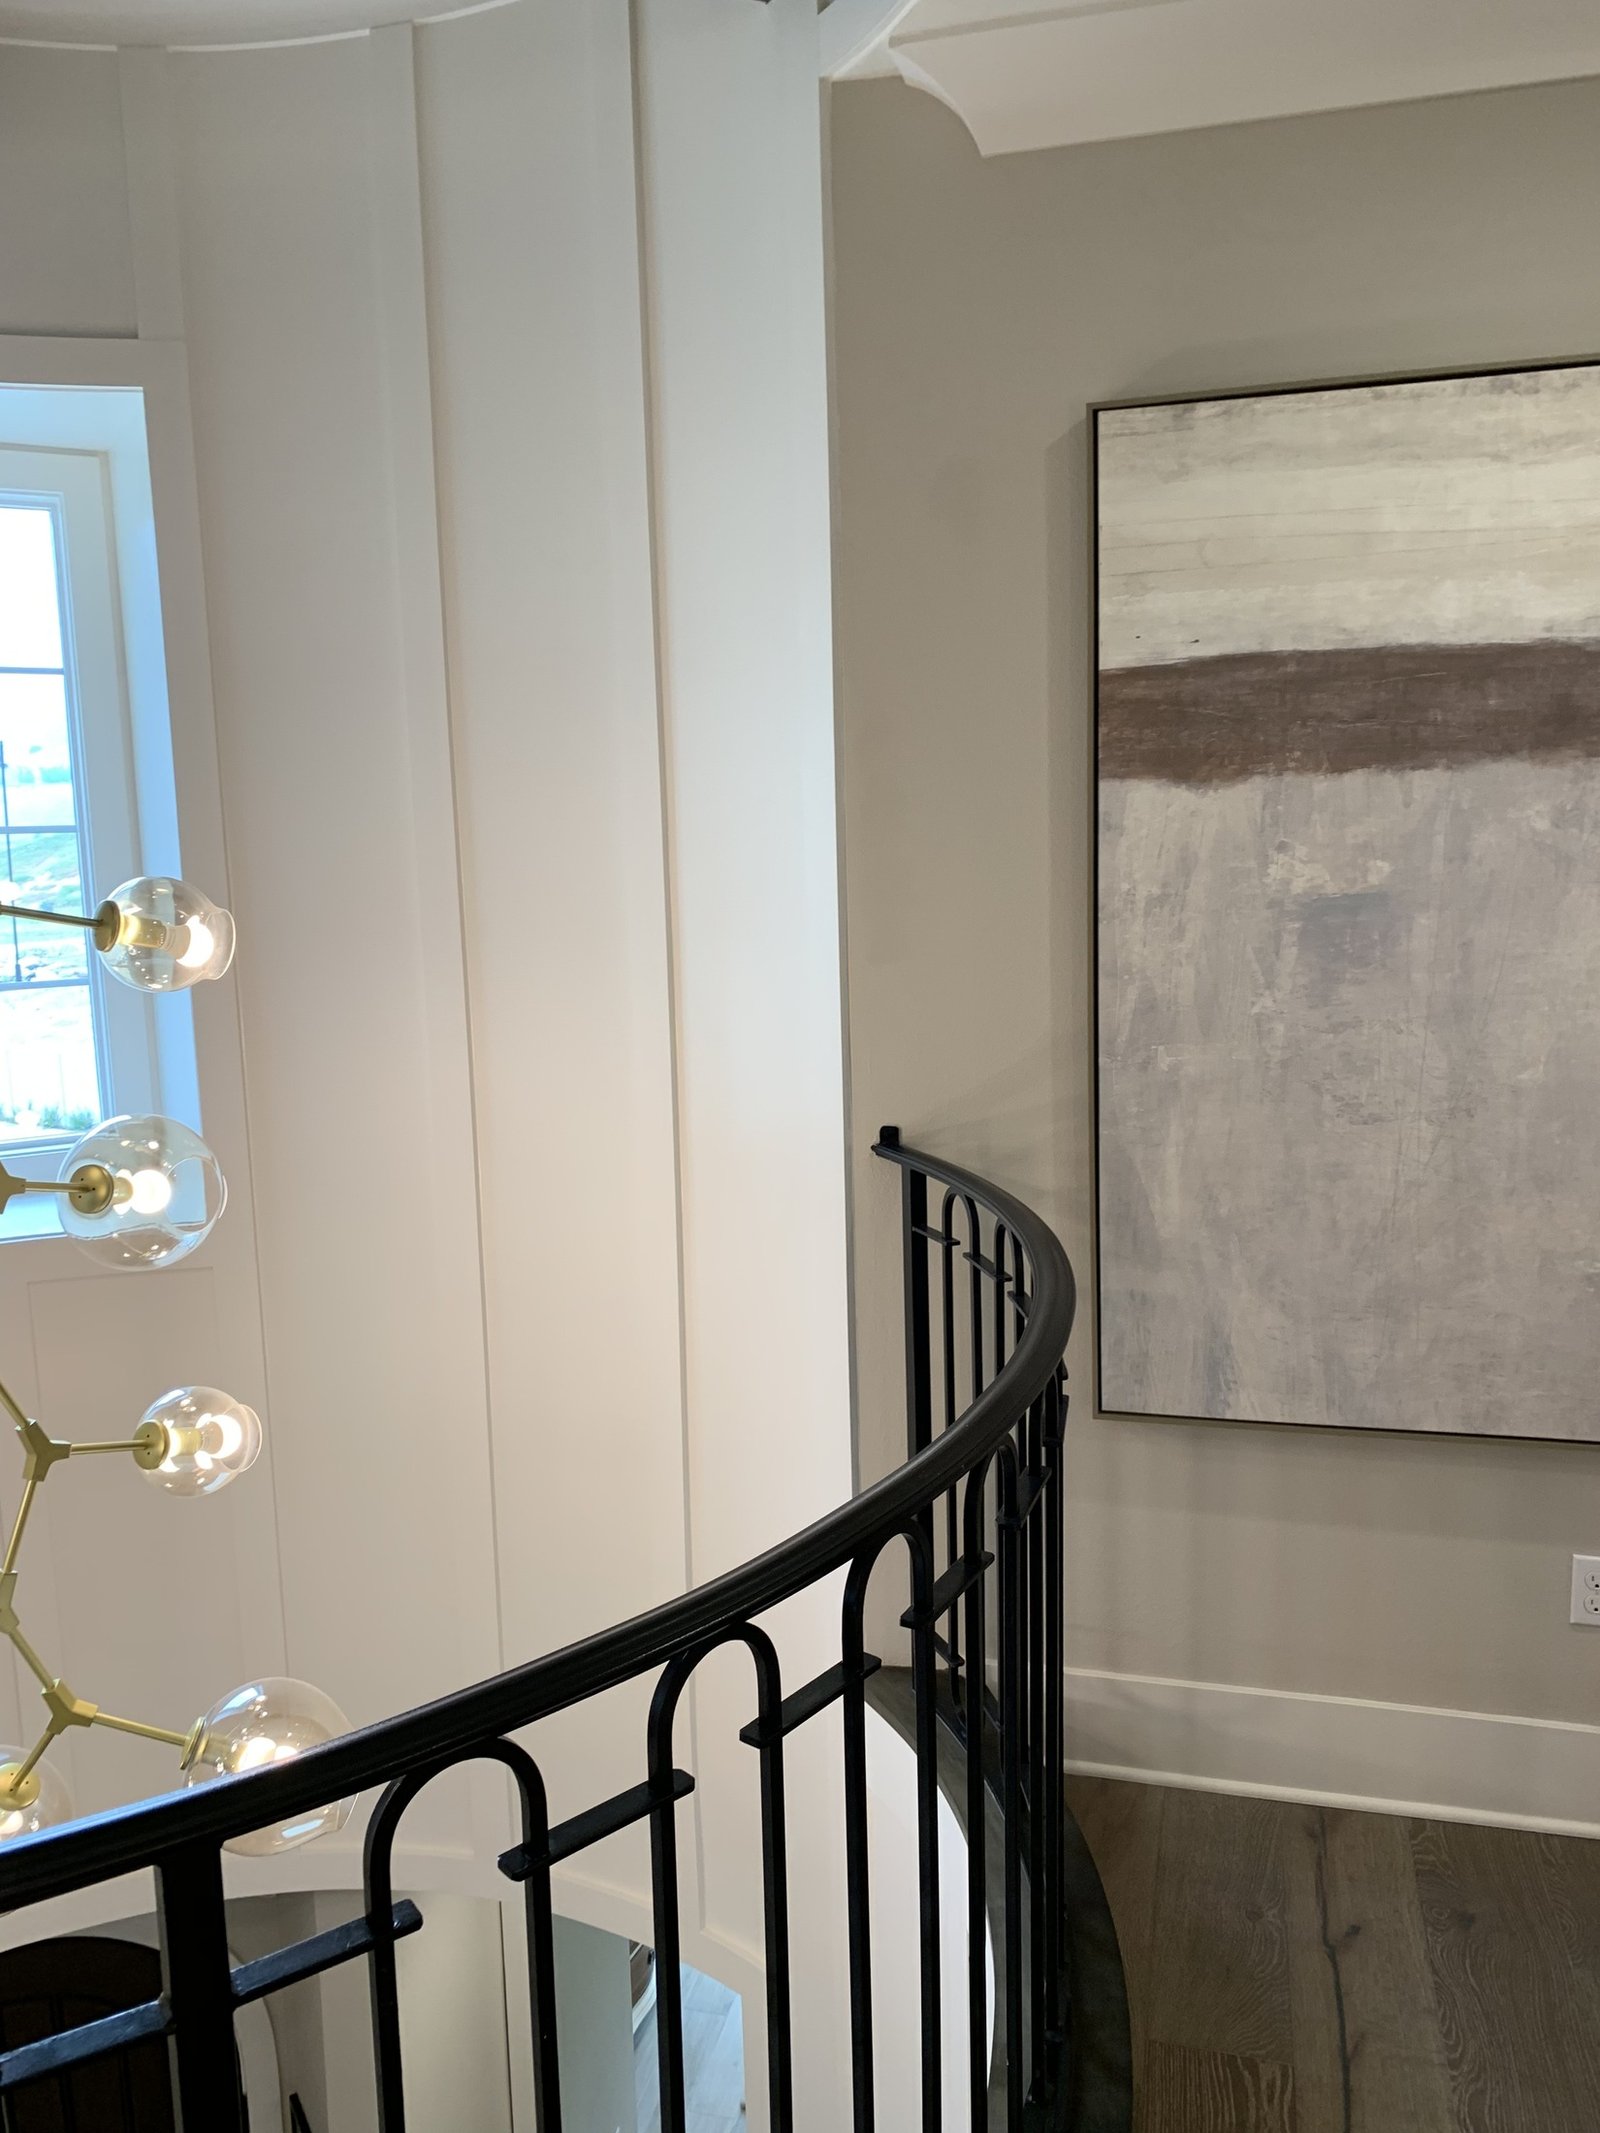
The second original study places the stair connection near a hypothetical home’s central hall. It may preserve more of a front room’s perimeter, while concentrating movement at a familiar junction. The upper landing may connect more directly to room entrances. This arrangement needs its own investigation; a central location is not evidence that the structure, services or circulation can accommodate it.
Downstairs, trace the routes that already converge there. Someone may walk from the kitchen to a bathroom while another leaves a bedroom. Add the stair approach without deleting existing door swings from the sketch. If a door has to move, show the new location and the room it affects. Moving a conflict off the stair drawing does not resolve it when it reappears inside an adjoining room.
A central connection can also change the feel of existing private rooms. Ask what is visible from the lower approach and whether upper-floor traffic passes existing bedroom doors. Compare an ordinary weekday morning with an evening when one person is resting and another is using the new rooms. You do not need an elaborate traffic simulation; a few specific routes reveal more than an empty hallway label.
Upstairs, a shorter hall may leave more program area in the hypothetical ledger. Examine whether that area has a useful shape and location. Space gained near an awkward corner or a frequently crossed doorway does not automatically improve a bedroom, bathroom or study. Ask the designer to show the intended use of the gain rather than assigning it to an enlarged room label.
For both studies, compare the same household priorities: front-room function, existing bedroom privacy, upper arrival, furniture movement, daylight and storage. Record a preferred option with reasons and unresolved dependencies. “Central hall preferred because the front room remains usable, subject to structural and headroom study” is a more useful decision than “B feels bigger.”
Ask for the whole stair relationship, including the section
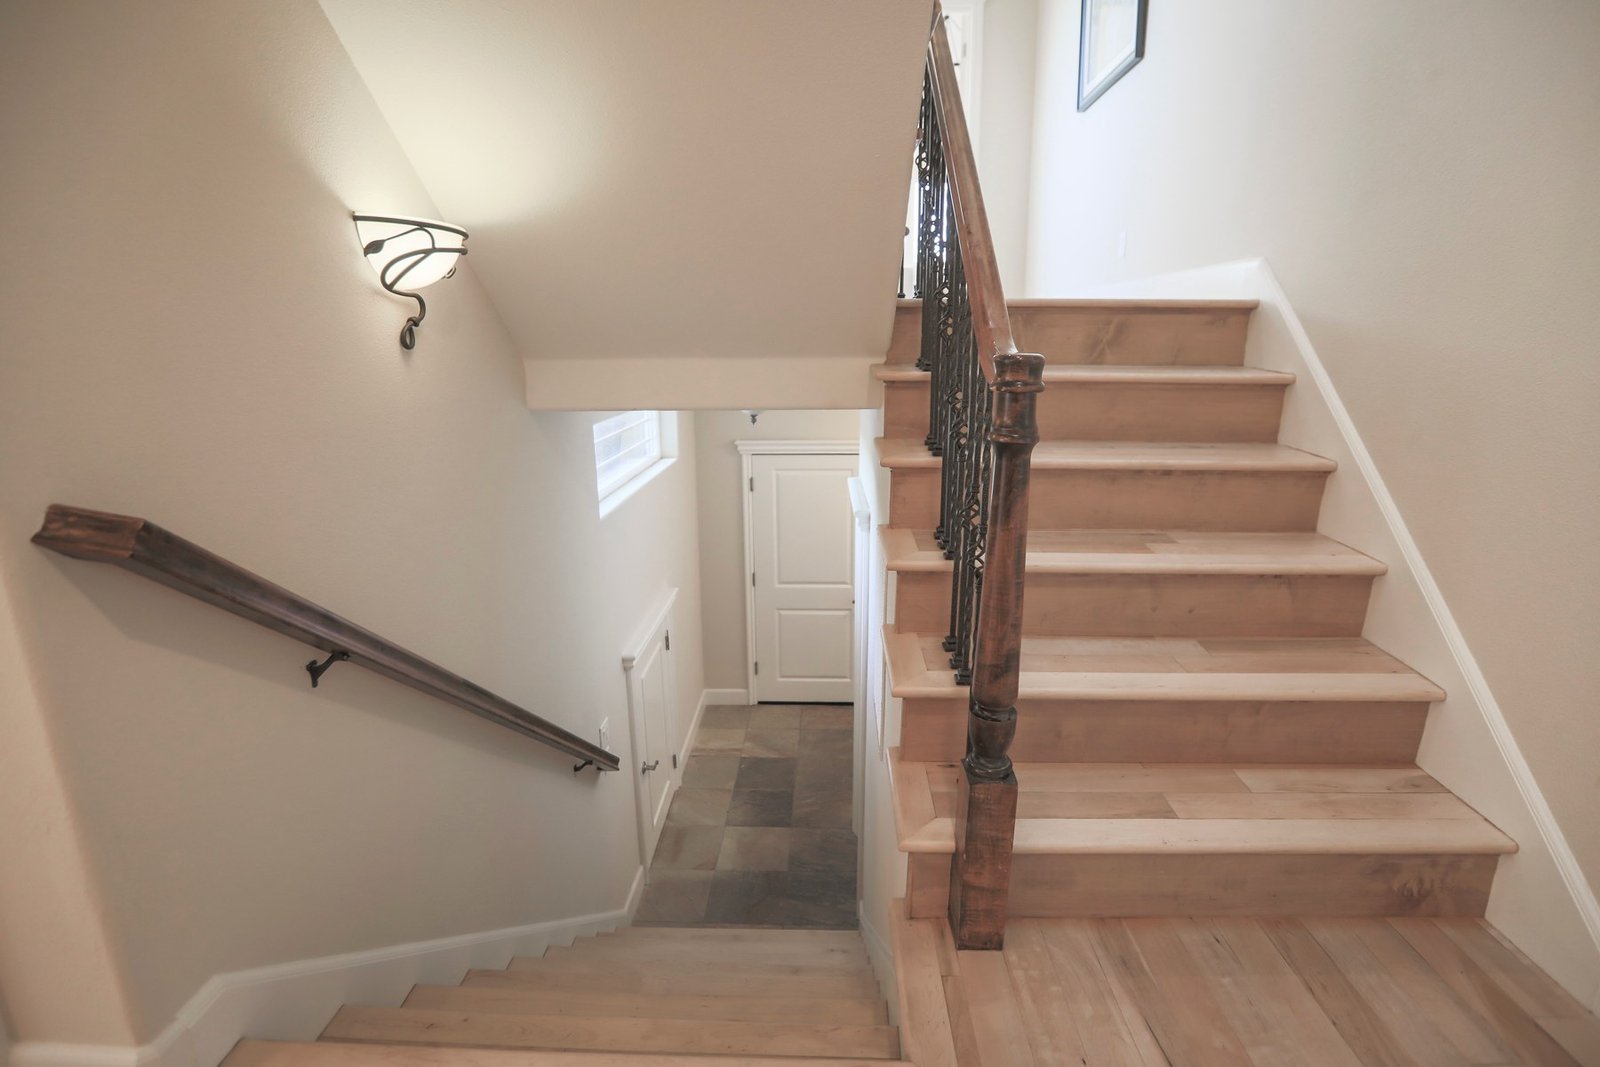
A stair location needs more than a plan-view rectangle. The City of Los Angeles’s current residential checklist, stair provisions addresses landings, headroom, clear width, geometry and handrails as distinct review items. Ask the designer to show how the actual stair works in section and on both floors. This guide does not provide a dimensional design or turn either location study into an acceptable stair.
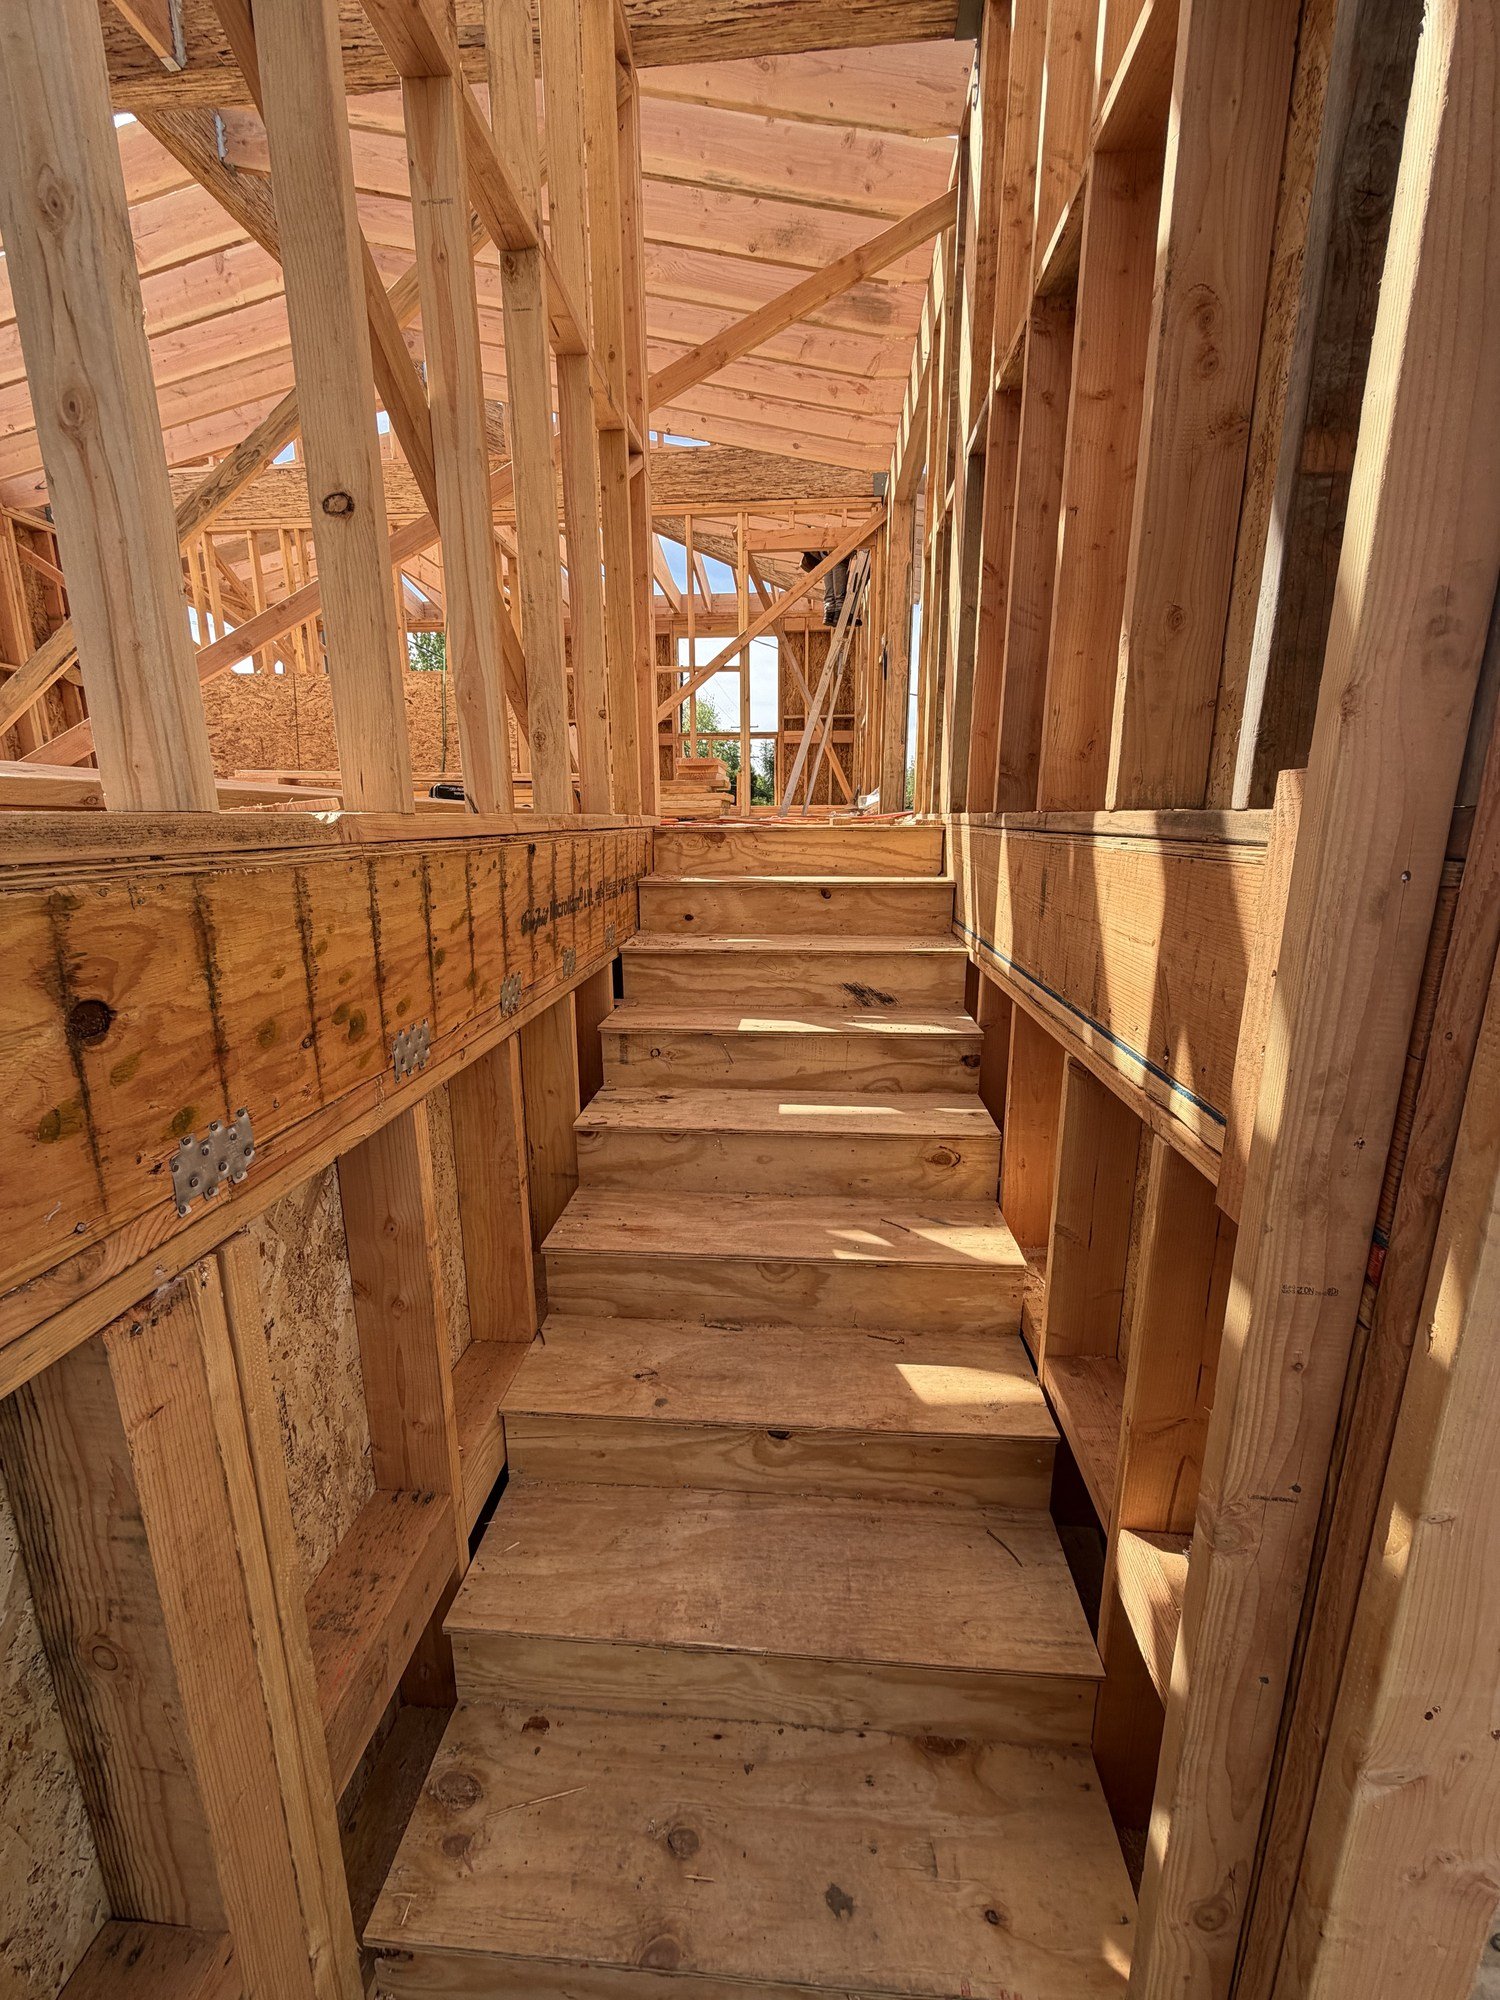
A section explains relationships that a top-down sketch may hide. Ask where the existing and proposed finished floors sit, how the stair arrives, and what construction is above the route. The professional determines the actual geometry and applicable requirements. Avoid committing to a room arrangement because a stair symbol fits on a rough plan while the vertical relationship remains unstudied.
The opening also needs structural coordination. The City checklist’s plan-set requirements include floor, section, framing and structural-detail information relevant to this coordination. Ask which professional will assess the proposed opening and the affected existing construction. A homeowner’s location preference should become a design question for that team, not an instruction to alter framing.
Check routes beyond the stair itself. The current City residential checklist addresses a continuous unobstructed egress route without passing through a garage, and separately addresses emergency escape for sleeping spaces. Have the designer evaluate the actual addition and existing-home connection. A favorable stair sketch does not establish the entire exit or escape arrangement.
If a tight concept prompts a proposal for winders or a spiral stair, ask for a fresh review of that actual system. The current City checklist treats those stair types with distinct provisions. Do not assume a different symbol solves a space problem or that the same dimensions and household experience carry across stair types. Ask about both applicable review and the activities the stair must support.
Keep other scope questions assigned. California Energy Commission addition and alteration guidance distinguishes work by project scope. Ask the design team which energy requirements apply to the new area and the affected existing work. Do not infer that every existing system must be replaced merely because a second story is proposed.
Test daylight, furniture and storage before choosing
After the two studies can be compared, walk through the remaining rooms rather than looking only at the staircase. Mark the walls available for furniture, the views from seating and the routes to doors. Ask which existing use is being preserved, reduced, moved or lost. A small lower-floor loss may have an outsized effect if it removes the only wall suitable for a frequently used piece of furniture.
Use actual possessions where they matter. Identify an existing bed, desk, bookcase or other large item that the household expects to move upstairs, and ask the designer how its route will be evaluated. A person’s everyday route and the occasional movement of a large object raise different questions. The answer should come from the developed design, without treating the unscaled studies as proof.
Storage needs an honest comparison too. If a stair displaces a closet, record that use before counting possible storage elsewhere. Treat under-stair storage as a proposal needing design confirmation, not an automatic replacement. Ask what can actually be stored, how it is accessed and whether the proposed use changes other requirements. A low, awkward space and a full-height closet do not necessarily serve the same household task.
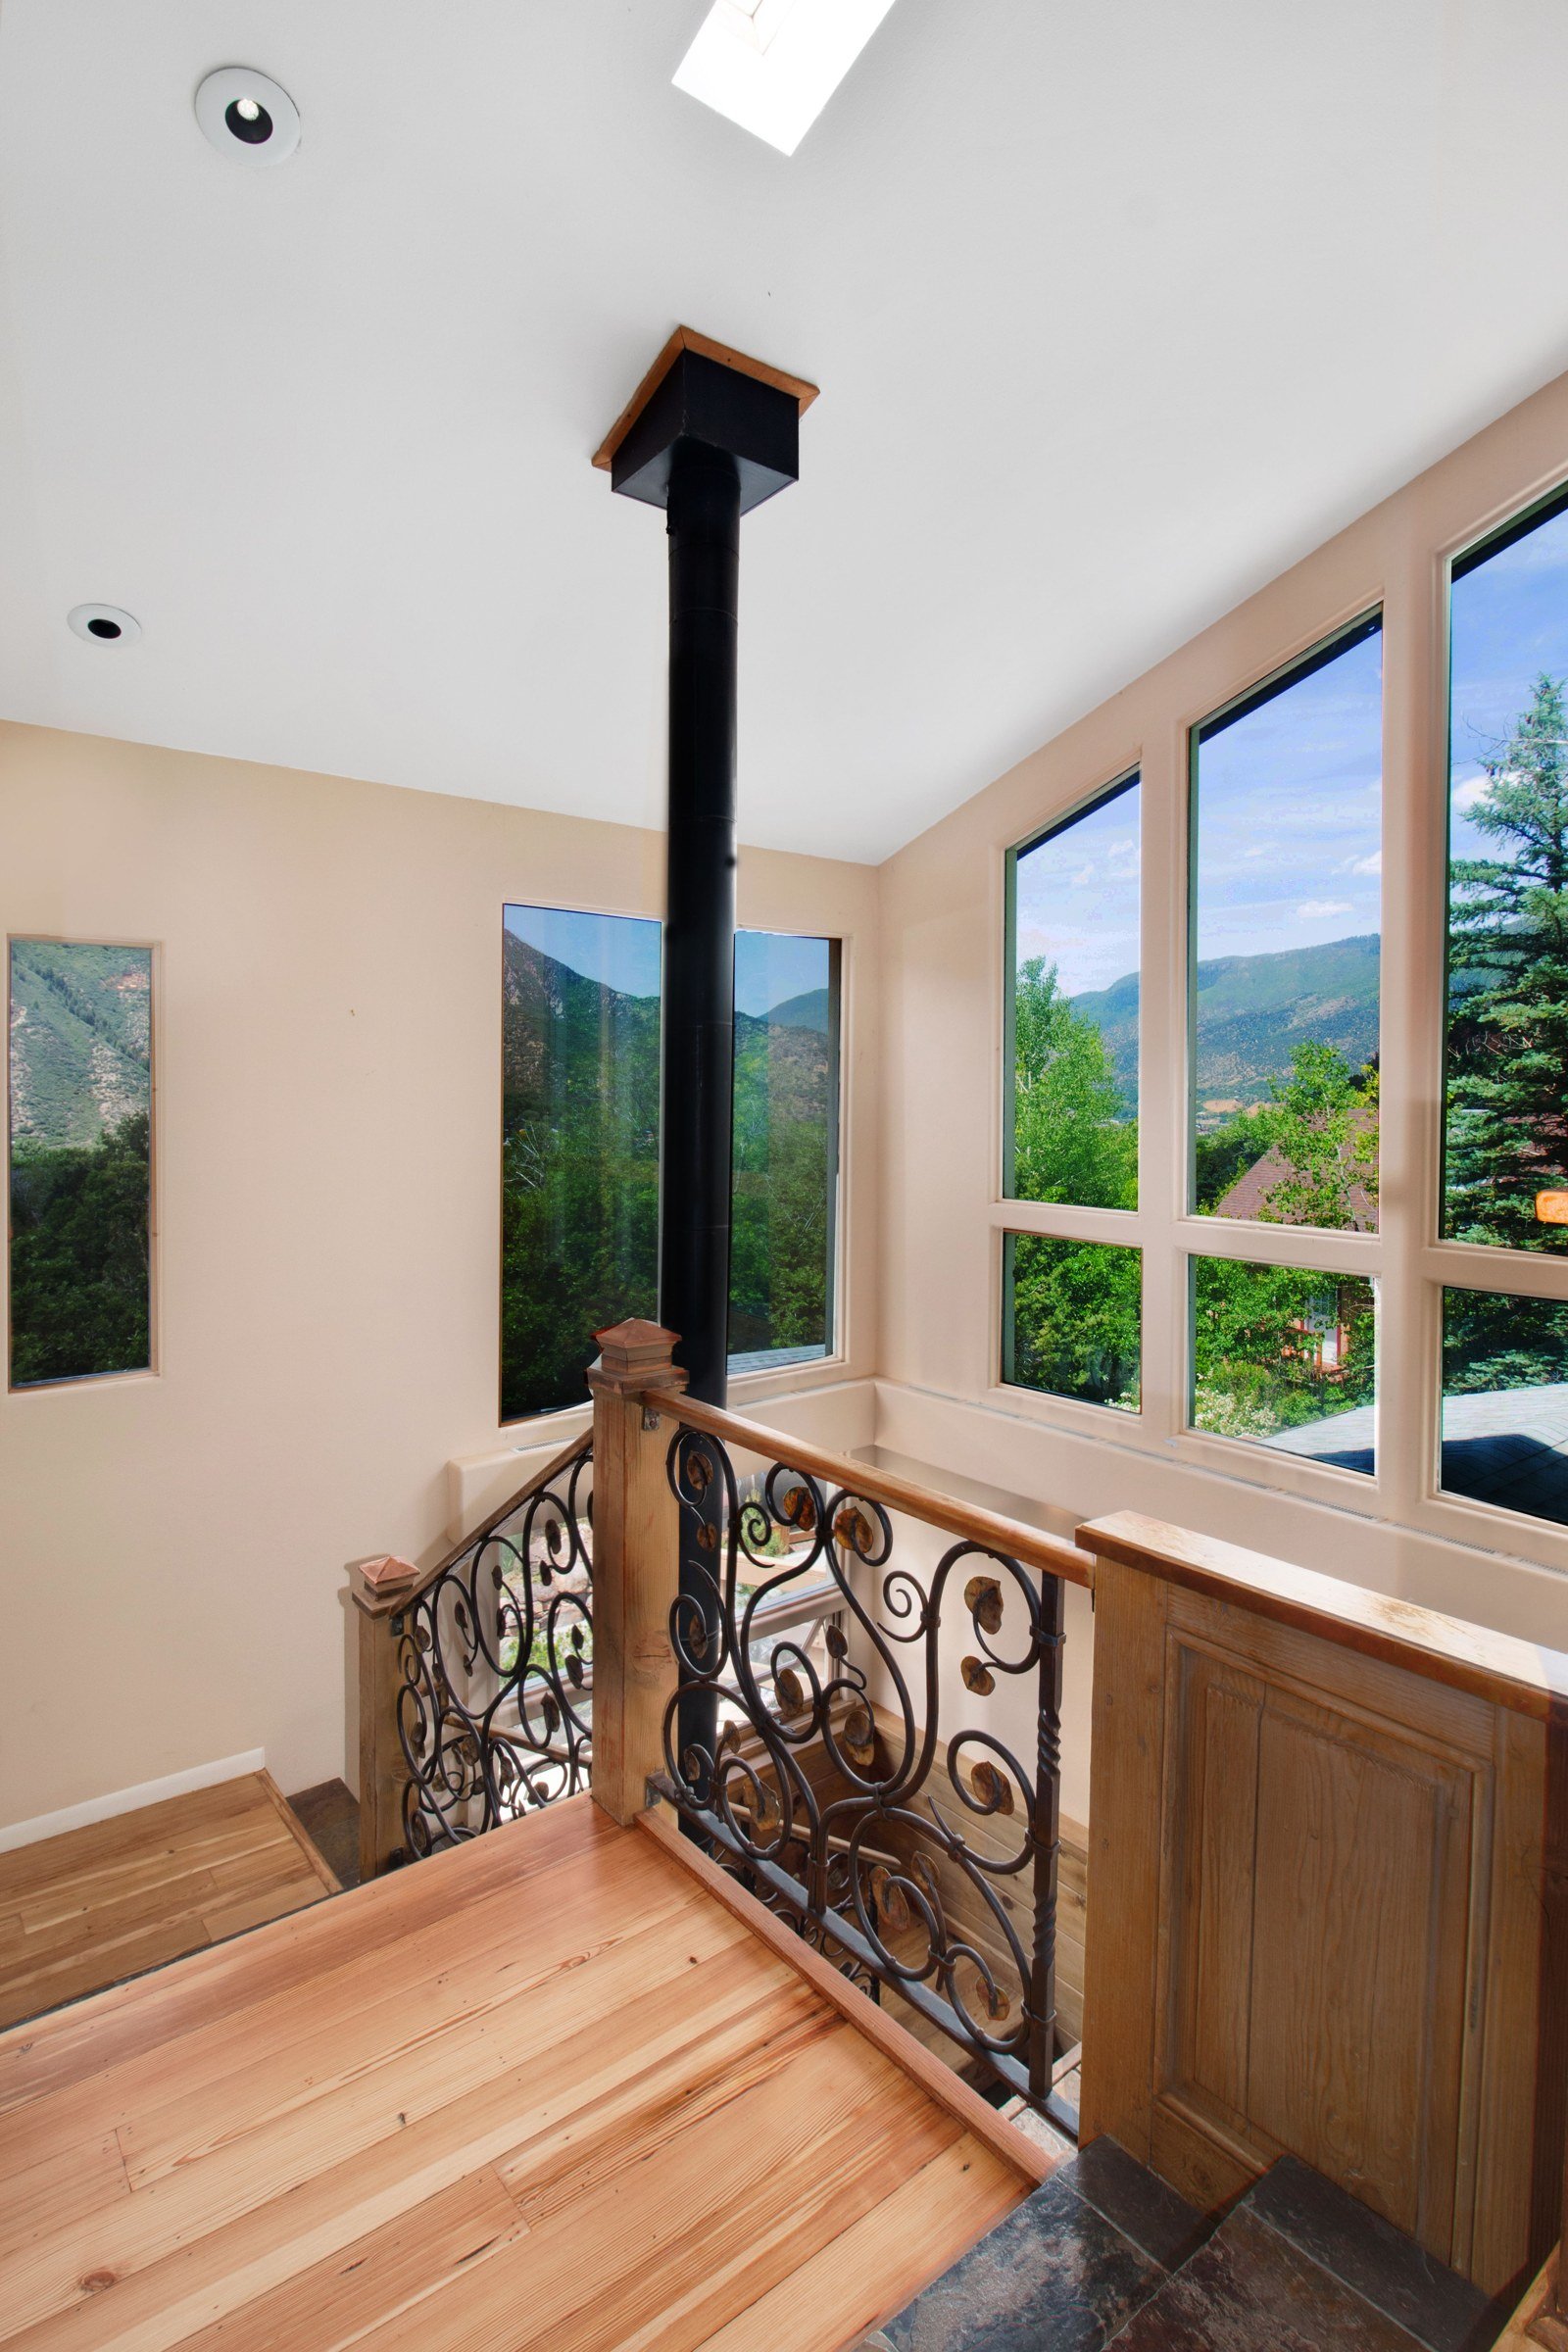
Review daylight on both levels. A stair opening near a window may create a pleasing visual connection, while a relocated wall may change light reaching an existing room. Record the actual window relationship and ask the designer to study it. Do not assign a daylight benefit from the mere presence of a window on the plan, especially when the surrounding walls and upper-floor arrangement are still provisional.
Plan ordinary evening use as well. The City checklist asks for stair details and illumination. Ask how the professional lighting and control design relates to the selected connection, including the lower approach and upper arrival. This is a coordination question, rather than a fixture-placement recipe.
Finish with three everyday journeys: entering the home and going upstairs, leaving an upper room and reaching the exit, and moving between retained downstairs rooms while someone uses the stair. Give each study the same test. Record specific conflicts and preferences, then ask which can be resolved during development and which are inherent in the chosen location.
Use a household priority test when the area results are close
Suppose the two hypothetical locations remain close after the design team checks their assumptions. Instead of assigning a single score, put each household priority into one of three groups: essential to preserve, a tradeoff the household can accept, or still uncertain. This is an original discussion tool, not a performance rating. It makes disagreement visible before a more detailed design gives one option momentum.
For a household that uses the front room for work every day, preserving an uninterrupted desk wall might be essential. A longer upper hallway might be acceptable if it supports that need. For another household, direct movement from the entrance to the new rooms might be essential, while the front room can change. The same two location studies can lead to different preferences because the existing spaces have different value to their occupants.
Describe an essential need in observable terms. “Keep downstairs useful” is difficult to test. “Retain a dining arrangement that seats the household without passing through the stair approach” gives the designer something concrete to study. Similarly, “private upstairs” can become “avoid a direct landing view into the room where one person works during family gatherings.” The request specifies the relationship without dictating an unverified architectural solution.
| Priority | Evidence or test to request | Decision to record |
|---|---|---|
| Preserve a downstairs room’s main use | Furniture and routes on the remaining room plan. | Use retained, altered acceptably, or unresolved. |
| Control views into upper rooms | Arrival view and door relationships on both studies. | Preferred relationship and tradeoff accepted. |
| Move important possessions | Designer review of actual item and route. | Confirmed approach or further study needed. |
| Maintain useful storage | List the lost storage function and proposed replacement. | Equivalent use demonstrated or loss acknowledged. |
| Understand daylight changes | Study the affected windows and adjoining rooms. | Preference provisional until that study is complete. |
In a hypothetical family discussion, one person might prefer A because visitors can reach the new study directly, while another prefers B because the front living room remains intact. Put both reasons beside the ledger. Then ask whether either preference depends on an untested assumption: perhaps A’s remaining room cannot fit the current furniture, or B’s central junction affects a bedroom entrance more than expected.
Where the disagreement concerns an unknown, commission the relevant design comparison rather than negotiating around a guess. Where it concerns a real preference, record the household’s chosen compromise. This distinction helps the design team spend effort on questions that can be answered through drawings or measurements, while leaving value judgments with the people who will live in the house.
Keep the chosen priorities beside the next plan revision. If a later structural or circulation adjustment changes the arrangement, test it against those same priorities. A study selected because it preserved the front room should be reconsidered if the developed version no longer does so. This is a practical check on whether the preferred concept still delivers the reason it was chosen.
Record who participated in that choice and which drawings they saw. Someone reviewing only the upper-floor plan may approve a different proposition from someone who reviewed both floors. A shared set of plans and a written reason for preference make the next discussion more productive, especially when another household member joins after the initial studies have been prepared.
Choose the study to develop, with its conditions attached
Prepare a one-page comparison in words as well as numbers. State the upper-floor program area under the agreed convention, the separate lower-floor program area displaced and the functions affected. Add the preferred entry relationship, privacy tradeoffs and unresolved professional questions. This prevents the highest upper-floor total from becoming the automatic winner.
For the hypothetical ledgers, A leaves 440 square feet upstairs and displaces 45 downstairs; B leaves 445 upstairs and displaces 65 downstairs. If the owner selects A because the lower loss fits an underused space, preserve that reason. If later design reduces B’s lower displacement, revisit the comparison. A recorded preference can change when its supporting facts change without reopening every unrelated project decision.
Ask the designer to identify the next information needed before developing the selected study. It may be a better existing-condition plan, clarification of floor levels, a structural assessment or a coordinated service question. Give each item a responsible person and the decision it affects. “Confirm headroom relationship before approving room boundaries” is specific enough to return to at the next review.
When broader project budgeting resumes, bring this developed scope to the discussion. The guide to building a complete home-addition budget provides context for that separate task. An area ledger is not a price calculator, and a stair option’s smaller footprint does not by itself establish a lower total construction price.
The Second-story stair and net-space record has twenty fields for the plan source, gross-area assumption, locations A and B, upper allocations, lower displacement, furniture conflicts, area definition and unresolved review. Record the arithmetic source and use the same units and boundaries throughout. The tool collects the figures you enter; it does not calculate or validate them.
You can create a notes summary, clear the fields and use browser printing. The worksheet does not autosave, send entries or submit a project inquiry. Keep a copy before closing or reloading it, and distinguish your assumptions from the designer’s findings. A completed worksheet is preparation for a discussion, not a design approval.
For a substantial addition in Los Angeles and within the stated 50-mile service radius, discuss the property and proposed scope with Remodeling Contractor Pro and confirm address eligibility. Bring both stair studies and their two-floor consequences.
REMODELING CONTRACTOR PRO · OWNER PLANNING
Second-story stair and net-space record
Record the actual property, proposed work and the decisions you need to resolve. Keep the source of an answer, the responsible person and the next action beside your notes. Leave an unknown item visibly unresolved.
This worksheet does not submit or save entries automatically. Use View entered notes to select and copy a summary, or Print / save as PDF through your browser before closing or reloading. It does not calculate costs, design construction or determine approvals. Keep a separate saved copy for each option you compare.
Your entered notes